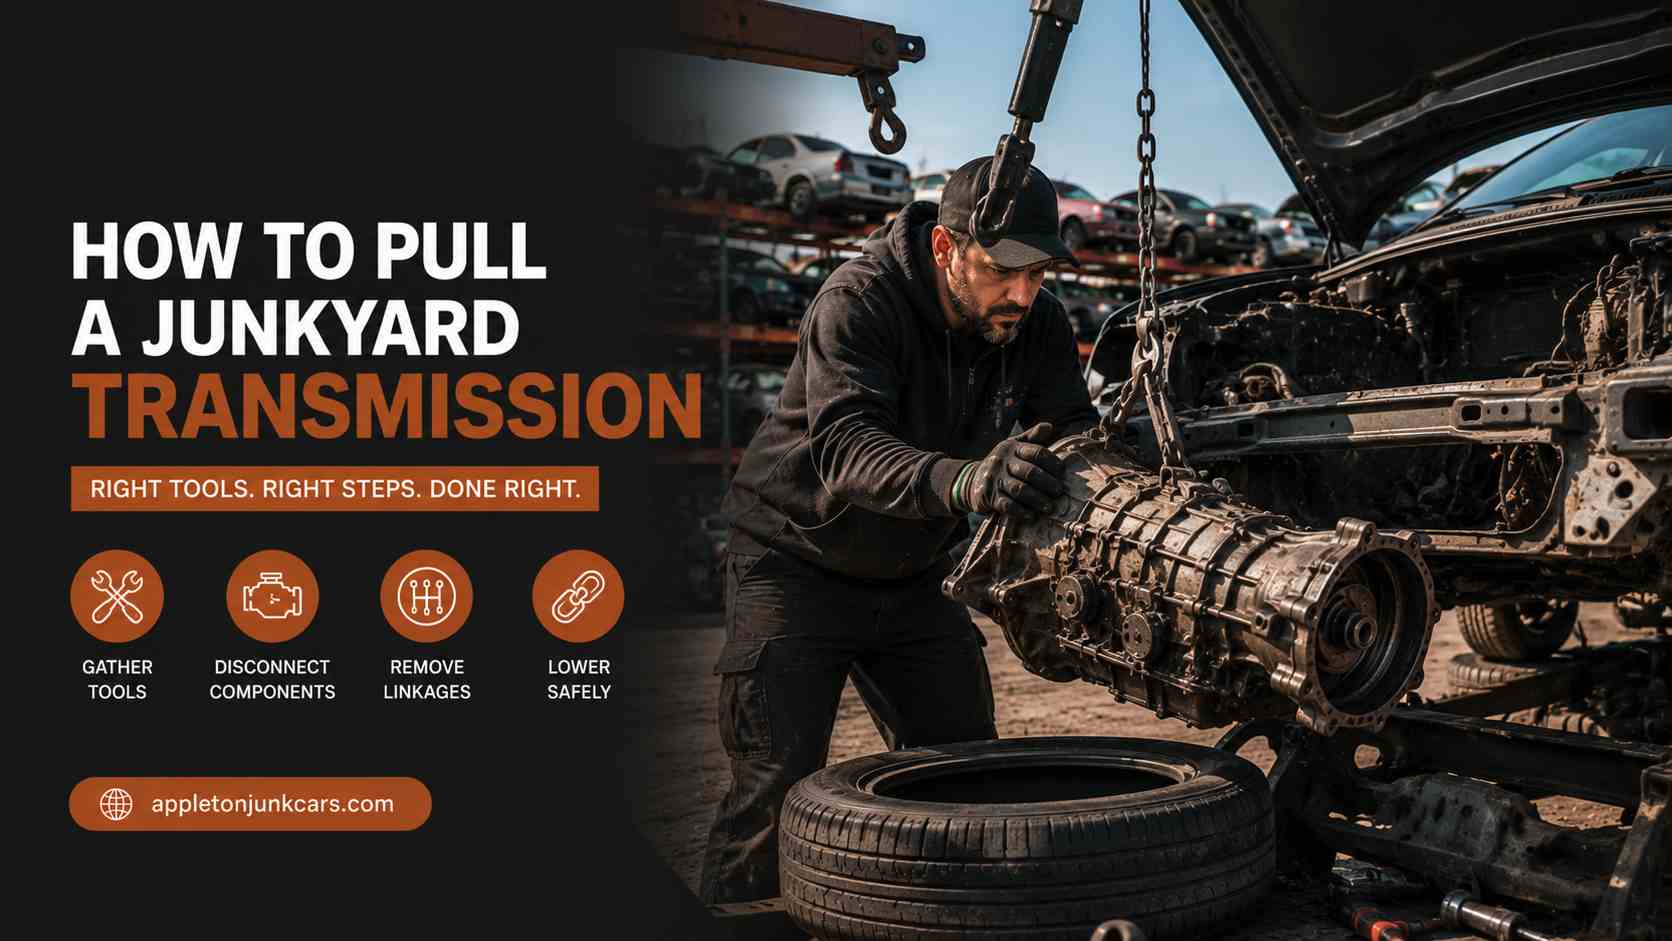
The donor vehicle is right there in row fourteen. It has a clean transmission with reasonable mileage, and the price at the counter is a fraction of what a rebuilt unit would cost. The only obstacle between you and that transmission is figuring out how to get it out in a yard where you cannot bring a floor jack, the sun is already hot, and you have a finite amount of time before you need to be back at the counter with the part.
Pulling a transmission at a salvage yard is different from doing it in your own garage. The vehicle is sitting on whatever support the yard gave it, the fluid is already drained in most cases, and your tool access is limited to what you carried in. The sequence of steps matters more here than anywhere else because a mistake in the middle of a junkyard removal does not have the same easy recovery options as a mistake at home.
This guide covers everything from the initial inspection before you start pulling to getting the transmission safely to your vehicle. It addresses both rear-wheel drive and front-wheel drive configurations because they require meaningfully different approaches.
Inspect the Transmission Before You Touch a Single Bolt
The single most common junkyard mistake with transmission pulls is spending two hours on a removal only to find, at the end, that the unit has a cracked case, a destroyed output shaft, or evidence of the internal failure that likely caused the donor vehicle to end up in the yard in the first place. Two minutes of inspection at the start prevents this.
Check the Fluid Pan and Case
Look under the donor vehicle at the transmission pan and case from every accessible angle. You are looking for cracks, impact damage, or bent areas on the casing. A transmission that was in a serious collision may have sustained damage to its mounting points or case that is not immediately obvious until you are holding it up and trying to install it.
If the vehicle has been sitting and the ground directly under the transmission shows a large oil stain pattern, the transmission may have a significant leak. Some leakage from an unmaintained salvage vehicle is expected. A large stain pattern with significant old oil coating the pan and surrounding area suggests a seal failure serious enough to warrant finding a different donor.
Rotate the Output Shaft
Before committing to the pull, locate the output shaft at the rear of the transmission or, on a front-wheel drive unit, the CV axle stub shafts. Attempt to rotate them by hand. They should turn smoothly with some resistance from the internal gear mesh. Rough grinding, extreme resistance, or zero resistance with no mechanical feel are all indicators of internal damage.
Check the Odometer
If the donor vehicle’s interior is accessible, note the odometer reading. A transmission from a 60,000-mile vehicle represents a fundamentally different risk profile than one from a 180,000-mile vehicle. Mileage is not a guarantee of condition but it is useful context for evaluating the risk of the purchase.
Tools to Bring for a Transmission Pull at the Yard
Junkyard rules on what you can bring vary by operation. Self-service pick-a-part yards typically prohibit floor jacks, hydraulic lifts, and cutting tools. Full-service yards where staff pull the part for you have different constraints. Confirm the yard’s specific equipment restrictions when you pay your entry fee. The list below assumes a self-service yard with standard restrictions.
Tool | Why You Need It |
|---|---|
1/2-inch drive breaker bar | Bell housing bolts and transmission mount bolts are typically heavily torqued and may be seized from rust. A short ratchet will not break them. |
Socket set: 10mm to 19mm metric, standard | Covers most common fastener sizes across manufacturers. Bring extensions of 3, 6, and 12 inches. |
Combination wrenches | Access bell housing bolts from angles where a socket and ratchet cannot fit. |
Torx socket set (T27 through T55) | Required on many European vehicles and modern domestic applications. |
Penetrating oil | Spray all fasteners immediately on arrival and let it work while you plan the removal sequence. |
Pry bar | Separating the bell housing from the engine block after all bolts are removed. Also useful for driveshaft removal. |
Drain pan | Some fluid will remain even after the plug is out. Have a pan to catch it during removal. |
Rope (10 to 15 feet of 3/8-inch nylon) | The approved method for supporting a transmission during removal in yards that prohibit jacks. |
All-thread rod + nuts (8 inches, matching bell housing bolt thread) | Guides the transmission straight back during separation without it falling. |
Flathead screwdrivers | Releasing wiring harness clips, prying off shift linkage components. |
Hammer | Encouraging stuck components, seating the pry bar. |
Cardboard | Lying under the vehicle on yard ground that is usually contaminated and uneven. |
Headlamp | The underside of any vehicle in a junkyard is dark. A headlamp frees both hands. |
Heavy gloves and safety glasses | Rust particles and fluid exposure are constant hazards during undercar work. |
RWD vs FWD Transmissions: The Approach Changes Completely
The single most important distinction in a transmission pull is whether the donor vehicle is rear-wheel drive or front-wheel drive. These are fundamentally different mechanical packages, and the removal sequence differs enough that someone experienced with one may encounter genuine surprises with the other.
Factor | Rear-Wheel Drive | Front-Wheel Drive |
|---|---|---|
Orientation | Inline with engine, horizontal | Transverse or inline, integrated with engine |
Primary outputs | One driveshaft at rear | Two CV axle shafts (left and right) |
Access to bell housing | Relatively accessible from below | Often blocked by axle shafts and subframe |
Crossmember / mount | Usually a removable crossmember | Mount points on subframe |
Typical difficulty | Moderate | Moderate to high |
Weight | 40 to 100+ lbs depending on unit | 30 to 70 lbs on most passenger cars |
Step-by-Step: Pulling a Rear-Wheel Drive Transmission at the Yard
The RWD pull is the more approachable of the two configurations for first-timers. The transmission is a separate unit from the engine that slides straight back along the chassis. The sequence below covers an automatic RWD transmission. Manual RWD transmission differences are noted where they apply.
- Spray penetrating oil on everything immediately. As soon as you identify the donor vehicle, spray penetrating oil on all bell housing bolts, the crossmember bolts, the driveshaft flange bolts, and the shift linkage attachment point. Let it work while you complete the visual inspection. Most of the difficulty in an old transmission pull comes from seized fasteners, and this is free insurance against that problem.
- Locate and photograph all wiring harnesses and connectors. Use your phone to photograph the wiring connections before disconnecting any of them. Modern transmissions have multiple electrical connectors: one for the neutral safety switch, one or more for solenoids, one for the vehicle speed sensor, and sometimes additional connectors for transmission range sensors. Photograph each connection and where the harness runs so you can trace it during re-installation.
- Disconnect the wiring harnesses. Press the release tab on each plastic connector body and pull straight out. Do not pull on the wires themselves. On automatic transmissions, note whether any of the connectors are connector-style quick releases versus bolted-on round connectors that unscrew.
- Remove the driveshaft. The driveshaft connects at the rear axle flange with four or six bolts. Crawl to the rear of the donor vehicle and remove these bolts, typically 12mm. Slide the driveshaft rearward to disconnect the rear U-joint flange, then slide the front slip joint forward out of the transmission tail shaft. Set the driveshaft aside. On manual RWD vehicles, also remove the shifter by pulling the shift boot up from the console and unbolting the shifter from the transmission tunnel.
- Disconnect the transmission cooler lines on automatics. Two metal lines run from the transmission pan area up to the radiator for cooling. Use a line wrench to avoid crushing these fittings. Once disconnected, some residual fluid will drain. This is normal.
- Remove the torque converter access cover on automatics. A small stamped steel plate covers the inspection opening at the bottom of the bell housing. Remove it with a flat screwdriver or the appropriate socket. Once the cover is off, you can see the torque converter bolts. There are typically three or four bolts securing the converter to the flex plate. Rotate the engine by hand or with a breaker bar on the crankshaft pulley bolt to bring each bolt into the access window. Remove them all before proceeding.
- Disconnect the shift linkage. The shift linkage on an automatic connects the floor or column shifter to the transmission’s range selector lever. It is usually a single clevis pin retained by a clip, or a threaded rod with locking nuts. Disconnect it and move it out of the path of the transmission. On a manual transmission, there is no equivalent linkage to remove because the shifter was already removed in step 4.
- Remove the crossmember and transmission mount. The transmission is supported by a rubber mount that sits in a crossmember bolted to both frame rails. Remove the bolts or nuts securing the mount to the crossmember, and then remove the crossmember bolts from the frame rails. The transmission will now be resting on the bell housing bolts and whatever support you provide from below.
- Support the transmission with rope. If the yard prohibits jacks, thread a length of rope under the rear of the transmission, loop both ends up around a convenient frame rail or crossmember member, and tie them securely. This prevents the transmission from dropping suddenly when the last bell housing bolt is removed. It does not need to fully support the weight, just prevent a sudden fall. The all-thread rod guide method provides additional control: run two lengths of all-thread through the lower bell housing bolt holes, thread nuts on the transmission side, and slide the transmission back on these guides when the housing bolts are removed.
- Remove the bell housing bolts. Bell housing bolts secure the transmission to the engine block at the back of the engine. They range from six to ten bolts depending on the transmission and vehicle. Remove all but one or two before fully supporting the transmission. Remove the last bolts once your rope support is in position. Note that some bell housing bolts are accessible only from above or at difficult angles. This is where extensions and flex sockets earn their place in the bag.
- Separate the transmission from the engine. With all bolts removed, pull the transmission straight rearward. The transmission input shaft must slide straight back out of the engine block. Rotate the transmission slightly if it binds on the way out. Once separated, the torque converter on an automatic will want to fall forward toward the engine. Keep a hand on it or have a helper hold it while you maneuver the transmission clear. Slide it to the ground and then to the edge of the vehicle where you can carry it to the exit.
Pulling a Front-Wheel Drive Transmission: Key Differences
A front-wheel drive transmission is integrated much more tightly into the engine compartment than a RWD unit. The two CV axle shafts, the subframe geometry, and the limited vertical clearance make the pull more involved. Many shops remove the engine and transmission together from FWD vehicles and separate them on the ground, which can actually be faster than attempting to remove the transmission while the engine stays in place.
The Easier Path: Pull Engine and Transmission Together
For FWD vehicles where the donor engine is also in good condition, pulling the engine and transmission as a unit is often more practical in a junkyard setting. This eliminates the challenge of separating the transmission from the engine while both are still in the vehicle. Once the assembly is on the ground, separating them is straightforward.
To remove an engine and transmission together on a FWD vehicle: disconnect all electrical harnesses, fuel lines, coolant hoses, and accessory drive connections at the engine. Disconnect the CV axle shafts from both sides of the transmission. Disconnect the engine mounts and transmission mount. Disconnect the radiator connections. With a yard crane or hoist if available, lift the assembly out from above.
If a hoist is not available and the yard does not allow jacks, pulling a FWD transmission without removing the engine first requires significant flexibility and time to work from below through the limited clearance available.
Transmission-Only Removal from FWD: The Extra Steps
- Disconnect the CV axle shafts first. Both inner CV stub shafts must be pulled from the transmission before the unit can be separated. Remove the axle nut from the hub, disconnect any brake or sensor wiring at the knuckle, and pull the knuckle outward far enough to pull the inner CV shaft from the transmission. Have rags ready as transmission fluid will drip from the stub shaft bores once the shafts are removed.
- Remove the transmission mount and subframe bolts that block access. FWD transmissions typically have a mount at the top near the firewall and attach to the subframe at the bottom. Remove the top mount first, then the subframe attachment hardware.
- Access and remove the bell housing bolts. Bell housing bolts on a FWD application are often less accessible than on RWD. Some are hidden by the powertrain mount hardware, some are accessible only from above after the battery and airbox are removed, and some require specific extensions and flex sockets to reach from below. Work systematically around the bell housing until all bolts are identified and removed.
- Lower or slide the transmission clear. Once all fasteners are removed, pull the transmission toward the ground while angling the output shaft side downward. The input shaft must clear the clutch or flex plate. Maneuver carefully and be prepared for the weight to shift as the unit comes free.
Automatic vs Manual Transmission: The Critical Differences
Automatic transmissions have the torque converter as an additional component between the engine and transmission that must be addressed during removal. The converter bolts to the engine’s flex plate and must be unbolted through the inspection cover access port before the transmission can separate from the engine. Once the transmission is removed, the converter slides forward and stays on the transmission’s input shaft. Keep a hand on it during removal to prevent it from falling.
Manual transmissions do not have a torque converter. They have a clutch assembly between the flywheel and the transmission input shaft. Removing a manual transmission does not require unbolting a converter from the flex plate, but once the transmission is removed, the clutch disc and pressure plate remain on the flywheel. If you want the clutch assembly as well, it can be removed separately once the transmission is clear. The flywheel is then accessible too.
AWD transmissions are a separate category with significantly more complexity. The transfer case, additional driveshafts, and electronic four-wheel drive components add both weight and removal steps. An AWD pull at a self-service yard is not a first-time job and is beyond the scope of this guide.
Getting the Transmission Out of the Yard and Home Safely
A transmission is heavy. Even a compact car automatic weighs 60 to 90 pounds, and full-size truck automatics can exceed 150 pounds. Planning how you will carry and transport it before you pull it saves significant physical strain and prevents dropping a part you just worked two hours to extract.
Bring a hand truck or folding cart. Most yards allow hand trucks. A folding cart or hand truck makes the walk from row fourteen to the exit counter, which can be several hundred yards, dramatically easier.
Cover the open ports before carrying. The input shaft bore on the bell housing side, the output shaft or stub shaft openings on FWD units, and the torque converter opening on automatics will all drip residual fluid during transport. Stuff rags into each opening before loading the transmission into your vehicle.
Protect your vehicle floor. Lay a tarp, cardboard, or old moving blankets in the trunk or truck bed before the transmission goes in. Transmission fluid on carpet is extremely difficult to remove completely.
Strap it down. A transmission sliding around in the back of a vehicle under braking is a hazard to both the vehicle and the part. Use ratchet straps to secure it firmly before driving.
Frequently Asked Questions
Can I pull a transmission at a pick-a-part yard without a hydraulic jack?
Yes. The rope support method and all-thread rod guide method are specifically designed for this situation. Tie rope under the rear of the transmission and loop it around the frame. Run lengths of all-thread through the lower bell housing bolt holes to guide the transmission straight back during separation. These methods take slightly longer than using a jack but are effective and safe within yard rules.
How long does it take to pull a junkyard transmission?
For a prepared, experienced person, a straightforward RWD automatic pull takes 45 minutes to 2 hours depending on fastener condition and access. For a first-timer with no help, on a vehicle with seized fasteners, plan for 3 to 4 hours. FWD transmission-only pulls take longer. Getting the engine and transmission together out of a FWD vehicle as a single unit can actually be faster than a transmission-only removal on many applications.
What is the hardest part of a junkyard transmission pull?
On most vehicles, it is either the bell housing bolts hidden at awkward angles or the torque converter bolts that require rotating the engine to access each one through the inspection cover. The bell housing bolt access issue is addressed with long extensions and flex sockets. The torque converter rotation can be done by hand or with a breaker bar on the crankshaft pulley bolt.
Should I pull the transmission cooler lines or cut them?
Always disconnect at the fittings using a line wrench rather than cutting. Pulled or cut lines are shorter on each end and cannot be reused. Disconnecting properly preserves both lines for reuse. If a fitting is seized and will not turn without rounding, cutting is the last resort, but budget for replacement line sections during your installation.
How do I keep the torque converter from falling during removal?
Have a rag or container under it, and keep a hand on it as the transmission separates from the engine. Once the transmission slides back more than a few inches, the converter’s weight wants to pull it off the input shaft toward the engine. Hold it in place or have a helper hold it while you maneuver the transmission clear. Once the transmission is fully separated, the converter can be pulled off the input shaft, drained, and transported with the transmission.
What do I do with the remaining fluid in the transmission?
Drain as much as possible through the drain plug before carrying the unit. The transmission pan drain plug, if present, is your best option. On units without a drain plug, the pan can be partially removed. Once you have drained what you can, plug all openings with rags before loading it for transport. Expect some additional dripping during the carry-out walk and have a pan ready at your vehicle.
The Bottom Line
A junkyard transmission pull is a genuinely achievable task with basic tools, the right preparation, and an understanding of the sequence. The penetrating oil goes on first. The wiring gets photographed before disconnecting. The driveshaft or CV shafts come out before the bell housing. The transmission gets supported before the last bell housing bolt comes out.
The difference between a smooth two-hour pull and a frustrated half-day is almost always preparation and sequence rather than skill level. Know what you are pulling before you arrive, bring the right tools for that specific application, spray everything down with penetrating oil immediately, and work through the steps methodically.
The part sitting on row fourteen is the same part you would pay hundreds of dollars more for through a rebuilder. The two hours it takes to get it out is the work that earns that difference.