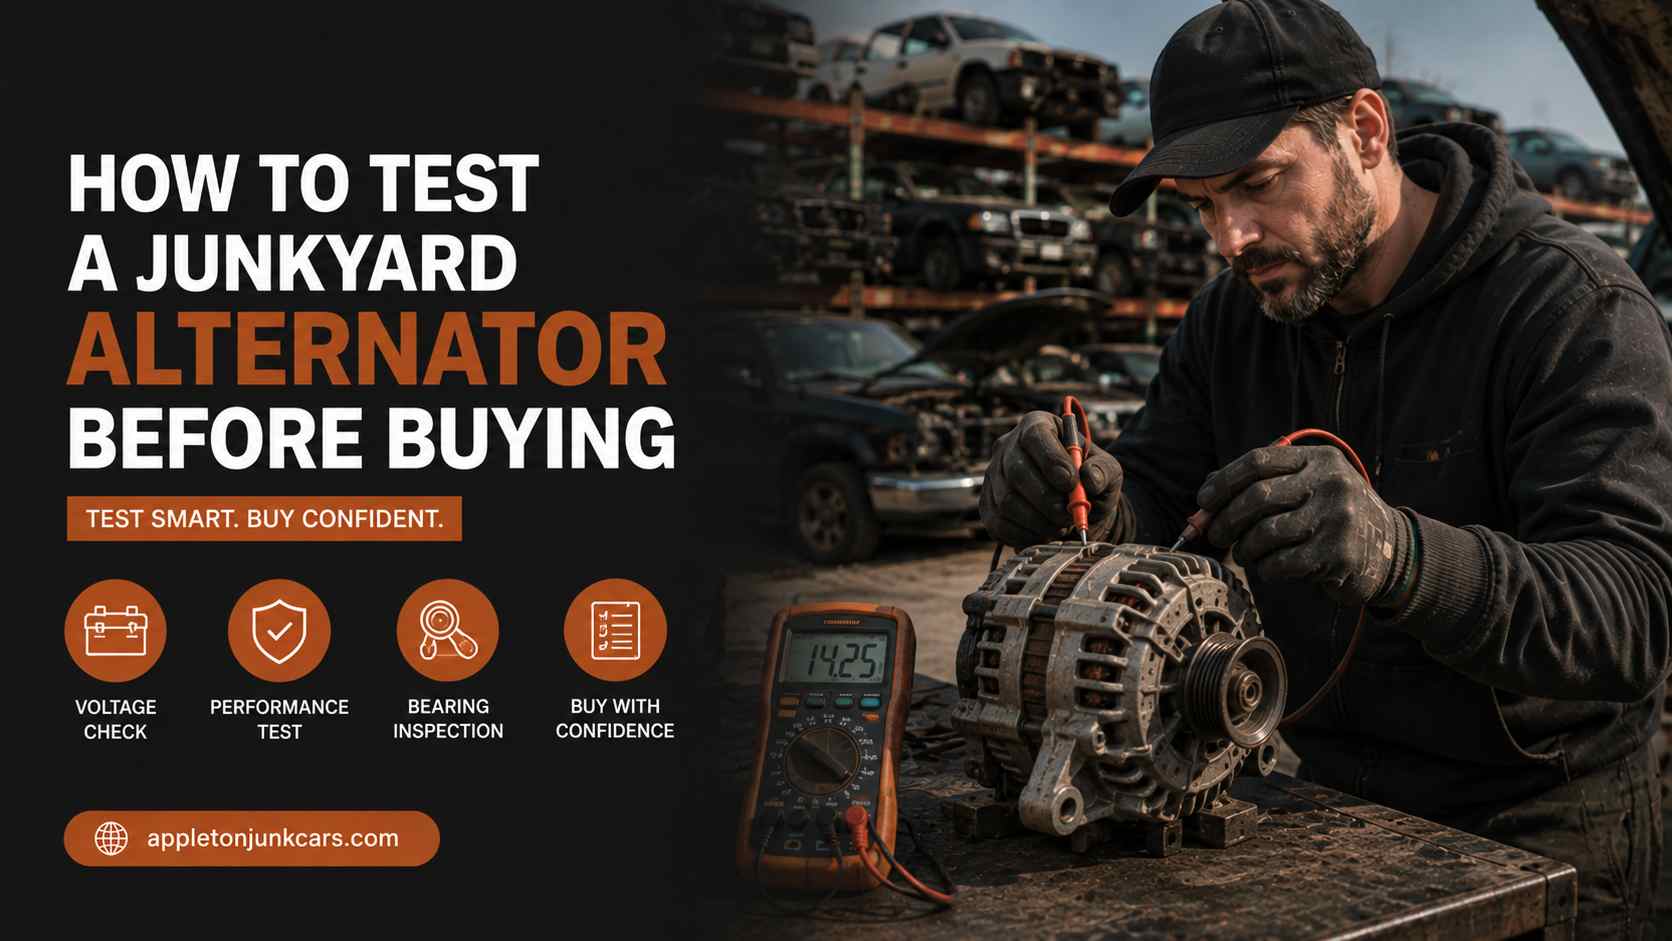
The alternator you need is right there on the donor vehicle. It looks fine. There is no obvious damage, the connector is intact, and it is priced at a fraction of what a new or remanufactured unit costs. You pull it, pay for it, drive home, install it, and then watch your battery light come on before you reach the end of the street.
This happens regularly to people who skip the testing steps. Alternators fail internally in ways that a visual inspection alone does not reveal, and you cannot start the donor vehicle to test output the way you would in a working car. What you can do is run a set of quick physical checks and one of several bench tests that work without engine power. Done properly, these steps catch most dead units before they leave the yard.
To test a junkyard alternator before buying, perform physical inspection checks directly at the salvage yard, then bench-test the unit using a drill-spin or hand-spin method with a multimeter, or ask the yard staff whether they have an automated alternator tester at the counter. This guide covers every step in the order you should do them.
What Fails Inside an Alternator and Why It Matters for Your Inspection
Understanding what can go wrong inside an alternator tells you exactly what each test step is looking for. An alternator generates AC power through a rotating magnetic rotor surrounded by a stationary stator winding. A rectifier converts the AC to DC for charging. Brushes carry current to the rotor. Bearings keep everything aligned and spinning freely.
Any of these components can fail, and each failure leaves a different clue you can find if you know where to look.
| Component | How It Fails | What You Can Detect |
| Bearings | Wear, corrosion, contamination | Roughness, grinding when spinning pulley, shaft play |
| Stator windings | Overheating, short circuit | Burnt smell from vents, no AC millivolts on hand spin |
| Rotor winding | Open circuit, shorted turns | Burnt smell, no output voltage on drill spin |
| Rectifier diodes | Overvoltage, heat failure | No DC output on drill spin |
| Voltage regulator | Age, voltage spikes | No output or uncontrolled output on drill spin |
| Brushes | Wear down to nubs | No output on drill spin despite no other failure |
| Housing / mounts | Impact damage, corrosion | Visible cracks, bent ears, broken connector |
Physical inspection catches the housing and bearing issues. The smell test catches stator and rotor burnout. The electrical tests catch rectifier, regulator, and brush failures. Running all three categories gives you the best picture available without a running engine.
Physical Inspection: The 5-Point Check You Do Before Pulling Any Tool
These checks take about two minutes and cost nothing. Run them in this order before deciding whether the unit is worth pulling off the donor vehicle.
1. Spin the Pulley and Listen
Grip the pulley and rotate it by hand in the normal direction of rotation. It should spin freely and smoothly with no roughness, catching, or binding. A quality bearing with reasonable remaining life feels almost frictionless and produces no sound. A worn bearing feels rough under your fingertips, produces a scratching or grinding sensation, or makes an audible sound as it rotates.
Even a slight grinding sensation in the bearing indicates wear that will worsen under the sustained high-speed rotation of engine use. The alternator pulley spins at two to three times engine RPM. A bearing that feels rough at hand spin speed will be significantly louder and hotter at actual operating speed and is likely to fail within weeks of installation.
2. Check Bearing Shaft Play
Wiggle the pulley shaft up, down, in, and out. There should be essentially zero play in any direction. The bearings in a healthy alternator hold the shaft precisely centered. Any detectable movement, even a fraction of a millimeter, indicates worn bearing races.
Axial play (in-and-out along the shaft axis) and radial play (up-and-down or side-to-side) each indicate different bearing conditions, but both are rejection criteria for a part you are paying money for. A bearing with detectable play is operating outside its design tolerances and should not be trusted for daily use.
3. Smell the Casing Vents
Bring the alternator close and sniff through the ventilation openings in the casing. A functioning alternator that was removed from a running vehicle may smell slightly of heat or oil without indicating failure. What you are looking for is a sharp, acrid, burnt electrical smell. This odor, which is distinct from mechanical heat and unmistakable once you know it, indicates that the stator or rotor winding has overheated to the point of burning its insulation coating.
A burnt stator is not repairable in the field. The unit is done. This is one of the fastest rejection tests available because the smell is definitive. If it smells burnt, put it down and find another unit.
4. Inspect the Aluminum Housing
Examine the alternator casing carefully for hairline cracks in the aluminum housing, particularly around the mounting ears. The mounting ears are the points of maximum mechanical stress on the unit, and a crack there means the alternator cannot be bolted in securely. A loose alternator vibrates, which accelerates bearing wear and can eventually work its way free of its mount.
Also check the overall housing shape for impact deformation. If the donor vehicle was in a collision and the alternator was in the path of any engine bay damage, the housing may be subtly bent in ways that throw the rotor off center relative to the stator.
5. Examine the Wiring Connector
Check the plastic wiring harness connector carefully. It should be intact, with no cracks in the plastic, no melted areas, and all terminal pins present and properly seated. A melted connector indicates the alternator ran hot enough to heat its external wiring, which correlates with internal overheating. Missing pins cannot be worked around in most vehicles. A cracked connector housing will eventually separate from the wiring at the worst possible time.
Also check the large B+ terminal, the main output stud, for corrosion, stripped threads, or physical damage. This is where the heavy charging wire connects. A damaged stud can prevent proper connection and creates resistance in the charging circuit.
Bench Testing Methods: How to Check Electrical Output Without a Running Engine
If the unit passes the physical inspection, the next step is testing whether it actually generates electricity. Three methods work without starting any engine. Each requires different equipment and provides a different level of confidence.
Method 1: Ask If the Yard Has an Automated Bench Tester
Before doing anything yourself, ask the junkyard counter staff whether they have an automated alternator bench tester. Some yards invest in this equipment specifically because it helps them sell parts with more confidence and reduces returns. An automated tester spins the unit to operating speed, applies a load, and measures output voltage and amperage. It is the most definitive test available outside a professional shop.
Yards that have these testers often charge a small fee to use them. Even at $5 to $10, the cost is worth it on an alternator purchase. An alternator that fails the bench tester saves you the cost of the alternator itself plus the time of installation and return.
Not all yards have this equipment. If the counter staff says no, move to the methods below.
Method 2: The Drill-Spin Voltage Test
This is the most definitive field test you can perform with portable equipment. It requires a cordless drill, a multimeter, and the ability to clamp the alternator securely.
What you need: a cordless drill, a deep socket that fits the pulley nut, a multimeter set to DC volts (20V range), two test leads with alligator clips, and a way to hold the alternator still (a vise at a nearby bench or a helper holding it against a solid surface).
- Secure the alternator. The pulley spins fast when driven by a drill and the unit must not be able to rotate or shift while you work. A bench vise is ideal. A helper gripping the alternator body against a stable surface works as well.
- Connect your multimeter. Clip the red lead to the large B+ output stud on the back of the alternator. Clip the black lead to the alternator’s metal housing (chassis ground).
- Engage the drill. Fit the appropriate socket onto the drill and engage it into the pulley nut. Drive the pulley at moderate speed in the correct rotation direction for that alternator.
- Read the voltage. A working alternator producing output will show a voltage rise above whatever the baseline reading was at rest. A dead alternator shows no change regardless of rotation speed.
What the readings mean: a fully functional alternator driven at drill speed will often not achieve full 14-volt output because it is not being spun at actual engine RPM and has no field current being regulated. What you are looking for is any clear voltage generation above the baseline, typically 5 to 12 volts at drill speed. Zero voltage at any spin speed indicates a dead rectifier, a burned stator, or brush failure.
Method 3: The Hand-Spin AC Millivolts Test
This test requires only a multimeter capable of measuring AC millivolts and does not require a drill. It tests the stator’s ability to generate AC current, which is the fundamental generating function before rectification and regulation.
What you need: a multimeter set to AC millivolts (lowest AC voltage range available).
- Connect the multimeter. Set the meter to AC voltage at the lowest range available, typically 200mV or 2V. Connect the red lead to any output terminal on the back of the alternator and the black lead to the housing ground.
- Spin the pulley rapidly by hand. Using your dominant hand, spin the pulley as fast as you can sustain for two to three seconds.
- Read the meter. A stator that is functional will show AC millivolt activity on the meter as the rotor moves through the winding. Even at hand spin speeds, a working stator generates a detectable AC signal. No activity at all indicates a failed stator or open rotor circuit.
This test does not confirm the rectifier, regulator, or brushes are functional. It only confirms the stator is generating. A unit that shows AC activity here still needs the drill test or bench tester to confirm full output chain function.
Confirming You Have the Right Alternator for Your Vehicle
Testing tells you whether the unit works. Compatibility confirms it is the right unit for your specific vehicle. These are separate steps and both matter.
Amperage rating. Alternators are rated by their maximum output amperage, typically between 90A and 220A for passenger vehicles. Installing an alternator with a lower amperage rating than your original will result in an undercharging condition under heavy electrical load. Look for the amp rating on the label on the alternator housing and match it to your original unit or your vehicle’s specification.
Mounting configuration. Even alternators that look physically similar may have different mounting ear configurations, different bracket positions, or different overall dimensions that prevent them from fitting in your engine bay. Bring your original alternator or detailed measurements of the mounting configuration when shopping.
Connector type. The wiring harness connector on the back of the alternator must match your vehicle’s connector exactly. Different manufacturers and even different models from the same manufacturer use different connector configurations. A physical fit of the connector, confirmed by plugging your vehicle’s connector into the alternator while still at the yard, is the definitive check.
Pulley size. The pulley diameter affects the alternator’s effective charging RPM relative to engine speed. An incorrect pulley diameter changes the speed at which the alternator reaches full charging output and can result in undercharging at low RPM or overcharging at high RPM on some setups. Match the pulley diameter unless you are specifically upgrading with knowledge of the consequences.
What to Bring to the Salvage Yard for Alternator Testing
Arriving prepared makes the test process take five minutes instead of twenty. Here is what to pack.
- Digital multimeter. Set it to DC voltage (20V range) and AC millivolts before you leave home so you are not fiddling with settings in the yard. Analog meters work but are harder to read quickly.
- Cordless drill with a fully charged battery. Bring a spare battery if your drill is older. A drill that dies mid-test is a wasted trip.
- Deep socket set. You need a socket that fits the alternator pulley nut without slipping. Common sizes are 15mm through 19mm for most vehicle alternators. Bring a range.
- Alligator clip test leads. Standard multimeter probes require a second set of hands to maintain contact during the spin test. Alligator clips let you connect and go hands-free.
- The original alternator from your vehicle if possible. Having the part you are replacing lets you do a direct visual comparison of the mounting configuration, connector, and pulley. If the parts look different, find out why before buying.
- Phone with a flashlight. Engine bays on donor vehicles are dark. A flashlight makes the visual inspection faster and more thorough.
The Most Common Mistakes When Buying a Used Alternator
Buying based on appearance alone. A clean-looking alternator with no visible damage can be completely dead internally. Stator failures and rectifier failures leave no external marks. The smell test and electrical tests are not optional.
Not checking bearing condition. Bearings that feel marginally smooth in the yard spin at a fraction of their operating speed. A bearing that sounds acceptable by hand can become clearly defective at 2,500 to 3,000 RPM operating speed within days. The shaft play check is the more reliable indicator.
Ignoring the amperage rating. A 90-amp alternator on a vehicle that originally came with a 160-amp unit will undercharge under load. Modern vehicles with infotainment systems, heated seats, large audio systems, and multiple USB devices draw significantly more current than older vehicles. Matching or exceeding the original rating is important.
Assuming same part number means same connector. Alternators with identical part numbers can have different connector configurations depending on production date or regional market. Plug the connector in at the yard before you pull the part.
Not asking about the yard’s warranty or return policy. Many salvage yards offer a 30 to 90 day exchange or return policy on electrical parts. Ask before you buy. A return policy changes the risk calculation significantly.
Skipping the AC millivolt test and relying only on appearance. The hand-spin AC millivolt test takes thirty seconds and requires nothing but a multimeter. It is the fastest electrical screening available and eliminates the most common failure mode. Skipping it to save time is the reason most people end up with dead junkyard alternators.
Frequently Asked Questions
Can you test an alternator without a car?
Yes. The drill-spin voltage test and hand-spin AC millivolt test both work without a running vehicle. They test the alternator’s ability to generate electricity by spinning the pulley manually rather than with engine power. These tests are not as definitive as a full-load bench test but catch the majority of failed units.
What voltage should I see on the drill-spin test?
At drill speeds, a functioning alternator typically shows 5 to 12 volts on the DC volt scale. It will not reach full operating voltage (13.8 to 14.8V) because it is not spinning at engine RPM and has no field current regulation active. Zero voltage at any drill speed indicates a dead unit.
How do I know if an alternator has bad bearings?
Two checks: spin the pulley by hand and feel for roughness, grinding, or any resistance that should not be there. Then grip the shaft firmly and try to wiggle it up, down, in, and out. Any detectable movement in any direction indicates worn bearings. A healthy alternator bearing has no play and spins freely with no sensation of roughness.
What does a burnt alternator smell like?
Sharp, acrid, and distinctly electrical. Similar to the smell of overheated electronics or burning insulation wire. It is different from mechanical heat or oil smell and is unmistakable once you know it. If you smell it through the vents, the stator or rotor winding has burned and the unit should be rejected.
Do junkyards test alternators before selling them?
Some do, particularly yards with automated bench testers. Most do not. Assuming the yard has not tested a part is the safer posture. If they do have a tester, ask them to use it before you commit to the purchase.
How much should a junkyard alternator cost?
Prices vary by market, vehicle type, and amperage rating. Common passenger car alternators typically run $30 to $80 at a salvage yard versus $150 to $300 for a new unit or $100 to $200 for a remanufactured unit. The savings are real and justify the time spent testing, but only if the testing is done properly.
What is the difference between a rebuilt and a junkyard alternator?
A rebuilt or remanufactured alternator has been disassembled, inspected, and reassembled with new internal components including brushes, bearings, rectifier diodes, and sometimes the regulator. It typically comes with a warranty. A junkyard alternator is a used unit sold as-is with unknown internal wear. The rebuild is safer. The junkyard unit is cheaper. The testing steps in this guide help close the quality gap when budget is the priority.
The Bottom Line
A junkyard alternator is a reasonable choice for a budget repair when you know how to evaluate one before buying. The physical checks catch bearing wear, burnt windings, housing damage, and connector problems. The electrical tests catch dead stators, failed rectifiers, and brush problems. Together, they screen out most of the units that would fail quickly after installation.
Bring a multimeter, bring a drill with a charged battery, run the five physical checks before you even think about pulling the part, and run at least one of the electrical tests before handing over money. Ask whether the yard has an automated tester you can use.
The unit that passes everything still carries some risk because these are not full-load tests at operating temperature and speed. But a unit that passes these checks is meaningfully more likely to perform than one you bought based on appearance alone. That is the difference between a useful tool and a gamble.