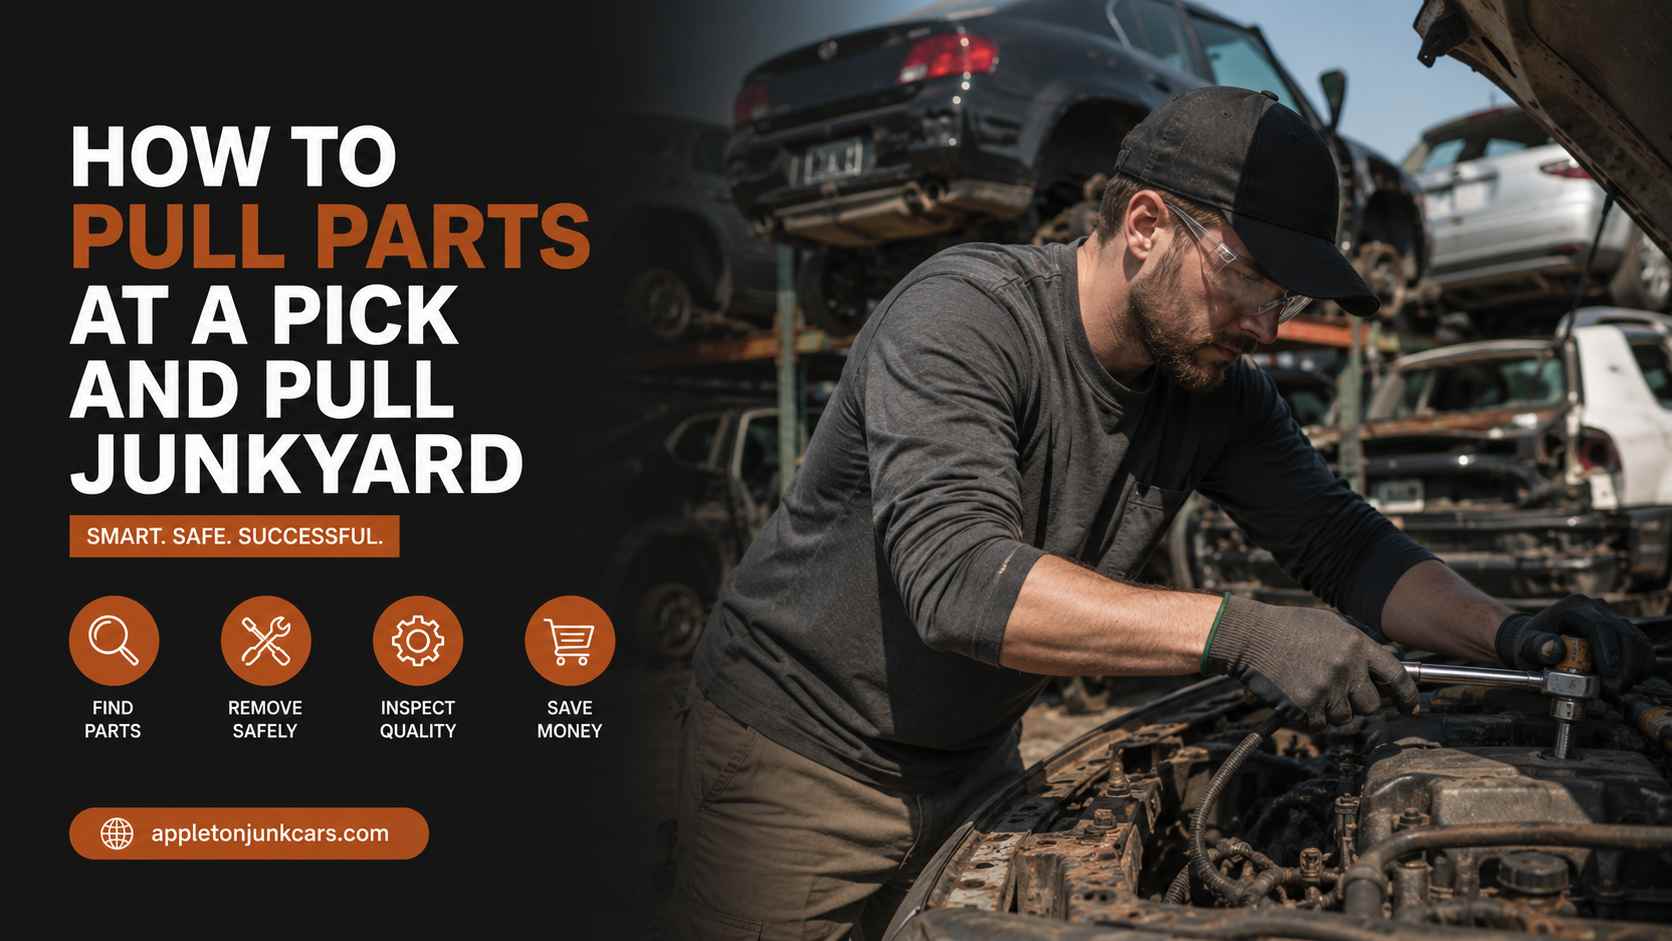
The first time you walk through the gate of a pick and pull junkyard, the scale of it catches most people off guard. Rows and rows of cars stretching as far as you can see, every make and model, half of them missing doors or hoods or wheels, sun-baked and sitting at angles, some so long they look like the lot just swallowed them whole.
It looks chaotic. It is actually one of the most organized and cost-effective ways to source automotive parts in existence.
Bring your own tools, pay a small entry fee, and pull the parts yourself. That is the entire concept. You do the labor, they provide the inventory, and the price you pay reflects the difference. Parts from a pick and pull yard typically cost 50 to 75 percent less than the same parts from an auto parts store, and significantly less than dealer pricing. For anyone comfortable with basic mechanical work, this is the right first call before spending full retail anywhere else.
This guide covers everything from checking inventory before you leave the house to walking out with the right part at the checkout counter.
Pulling Parts at a Pick and Pull Junkyard: Step-by-Step Guide
Step 1: Preparation and Planning
Showing up at a pick and pull yard without preparation is how you waste an hour only to discover the car you need is not there. Most yards have done the work of making this easy for you, but you have to use their tools.
Check Inventory Before You Leave
Nearly every major pick and pull operation maintains a searchable online database that is updated daily as vehicles are added to or removed from the yard. Search by your vehicle’s year, make, and model before you drive out. The search will show you how many matching vehicles are currently in the yard and sometimes which row they are located in.
Check compatible interchangeable years as well. Many parts are shared across multiple model years or even across related models within a manufacturer’s lineup. A 2008 Civic mirror might fit a 2007 or 2009 Civic. If you are not sure what years are compatible, search forums or parts compatibility databases for your specific part before going to the yard. Finding a compatible donor vehicle significantly expands your options on any given visit.
Review the Yard’s Policies
Each yard sets its own rules, and they vary more than you might expect. Check the specific yard’s policies before visiting for:
- Entry fee: Most pick and pull yards charge a small admission fee, typically $1 to $3, regardless of whether you buy anything. Some are free. Know before you go.
- Age restrictions: Many yards require visitors to be 18 or older. Some allow minors with a parent or guardian. If you are bringing a younger helper, verify this beforehand.
- Payment methods: Some yards are cash only. Others accept cards. A few have gone fully cashless. Arriving with only cash at a card-only yard or vice versa is a preventable inconvenience.
- Part return policies: If the part turns out to be the wrong one or is defective, most yards have exchange or refund windows, usually 30 to 90 days. Know the policy before you pay.
Write Down Everything You Need
This sounds basic but it saves significant time inside the yard. Write down every specific component, bracket, bolt, and clip you need to harvest. Be specific enough that you will recognize what you are looking for when you see it, but also note any adjacent parts you might want to grab while you have access, since returning to the same car is often not possible if it gets crushed or if another buyer gets there first.
If you are replacing a component that has associated hardware, note whether you need the bolts and brackets as well. Factory hardware from the donor vehicle is usually the correct size and thread pitch for the part, and having it already assembled when you return to your repair is a significant time saver.
Step 2: Required Gear and Tools
The pick and pull concept relies on you bringing everything you need. The yard provides the cars. They do not provide tools, and most yards actively prohibit certain equipment for safety reasons. Arriving prepared is the difference between a productive visit and a frustrating one.
Core Hand Tools
At minimum, bring a complete working set of the following:
- Metric and standard wrenches in common sizes from 8mm to 19mm and 5/16 to 3/4 inch. Open-end and combination wrenches for tight spaces.
- Ratchets and socket set including both 3/8-inch and 1/2-inch drives with common metric and standard sizes. A swivel adapter helps access fasteners at awkward angles.
- Screwdrivers in flat and Phillips in multiple sizes, plus Torx bits if your target vehicle is European or late-model American.
- Pliers including standard, needle-nose, and locking. Wire cutters for wiring harness work.
- A breaker bar for stubborn or overtorqued fasteners. This is the tool most first-timers forget and most frequently wish they had.
Specialty Gear
- Penetrating oil (WD-40 or PB Blaster): Spray on rusted or seized bolts as one of your first steps on any fastener that looks corroded. Let it sit for several minutes before applying torque. Skipping this step is how bolts get snapped.
- Rubber mallet: For dislodging components that are stuck from corrosion or deformation without damaging the part itself. More useful than most people expect.
- Pry bars: A short and a long pry bar for removing clips, trim pieces, and components that are retained by friction or corroded clips rather than threaded fasteners.
- Electrical tape and zip ties: For securing loose wiring or bundling small parts together as you work.
- Marker and plastic bags: Label your hardware as you go. ‘Front left door’ on the bolt bag saves time during installation.
Safety Equipment
Do not skip this. Junkyards are environments with broken glass, sharp metal edges, unstable vehicles, and potentially pooled automotive fluids on the ground. The personal protective equipment below is not optional.
- Heavy-duty work gloves: Full-coverage gloves that resist cuts from sheet metal edges and glass. Thin latex gloves are not adequate.
- Safety glasses: Mandatory when working under vehicles or removing fasteners. Rust particles, fluid drips, and spring-loaded clips can all send debris toward your eyes.
- Thick closed-toe boots: Steel-toed is ideal. Minimally, leather boots with a thick sole. Never sandals, sneakers, or any open-toe footwear. Ground conditions in junkyards are unpredictable.
- Long pants and a long-sleeved shirt: Protect against cuts and abrasions from working in tight spaces. The sun protection in an outdoor yard is an additional benefit on hot days.
Prohibited Items
Leave torches, angle grinders, jacks, car batteries, and cutting tools at home. Yards prohibit these for safety reasons and will turn you away or confiscate them at the gate.
Torches and grinders are obvious fire hazards around vehicles that may still contain fuel. Jacks are prohibited because unstable vehicles falling on people are a significant liability and safety risk. Car batteries are restricted because charging or testing creates spark hazards. If your part requires cutting or burning to remove in a production shop, the correct approach at a pick and pull yard is to work around the fasteners or components that are in the way, not to cut them.
Step 3: Locating the Vehicle
Once you are through the gate, the yard may look overwhelming. It is not. Pick and pull yards are organized systems, and finding your donor vehicle is a straightforward process once you know how they work.
Get the Yard Map
When you pay your entry fee at the admission window, ask for a yard map or row guide. Most pick and pull operations maintain current printed maps or can direct you to the relevant section. The map shows the yard’s organization by vehicle type, origin, or manufacturer, depending on how that specific location chooses to arrange its inventory.
If the yard has an online inventory, the vehicle listing sometimes includes the row and section number where the car is parked. Taking a screenshot of this information before you walk in saves time searching.
Find the Right Section
Most yards are organized into broad sections such as Imports, Domestic Sedans, Domestic Trucks, SUVs and Vans, and similar categories. Walk to the designated area for your vehicle type and begin searching for matching year, make, and model vehicles.
Note that not every car in the section will be exactly what you need. Donor vehicles arrive continuously and may be placed near other similar models for organizational convenience. Walk the row fully rather than stopping at the first vehicle you see, especially if you need a specific trim level or a part that was not standard on all configurations of that model year.
Inspect Conditions Before You Start Working
Once you find a matching donor vehicle, spend two minutes assessing the situation before you pull a single tool.
- Check that the part you need is present and undamaged. Previous visitors may have already removed it. Look for missing hardware, pry marks, or signs that the component has been disturbed.
- Assess access. What needs to come off first to reach your target part? A door panel may need to come off before you can reach a window regulator. A timing cover may need to come off before you can access a component behind it. Mentally walk through the removal sequence before starting.
- Check the vehicle’s stability. Yard vehicles rest on blocks, wheels, or bare axles in various configurations. Before crawling under or leaning heavily into a vehicle, confirm it is stable and not at risk of shifting. Never work under a vehicle that is resting on anything other than solid support at all four corners.
Step 4: Pulling the Parts
This is the work. With preparation done and the donor vehicle assessed, the actual extraction follows a consistent process that works across almost any part you need to remove.
Clear Access to Your Target Part
Remove any blocking components carefully and in order. Working backward from your target, remove whatever needs to come off first to give you clear access. Do this methodically rather than forcing access to the target part directly. Forcing creates damage to the part you are trying to keep and may break adjacent components you did not intend to disturb.
Components you remove for access that you are not keeping should be set aside neatly. Other visitors may want those parts, and leaving the car in a reasonably organized state is a courtesy the pick and pull community generally maintains.
Apply Penetrating Lubricant Early
Before applying any torque to fasteners that show rust or corrosion, spray them with penetrating oil and wait. A minimum of five minutes is helpful. Ten to fifteen is better for heavily corroded fasteners. The lubricant needs time to wick into the threads by capillary action. Applying it and immediately trying to turn the bolt accomplishes nothing.
For the most stubborn fasteners, apply penetrating oil, wait, apply again, and work the bolt back and forth in small increments rather than trying to break it free in one hard pull. The back-and-forth motion works the lubricant deeper into the threads and reduces the risk of snapping the bolt.
Save All Hardware
Keep every bolt, bracket, clip, and electrical connector you remove from the target component. This hardware is specific to the part and is often not available separately at auto parts stores at any reasonable price. Even if you are confident your vehicle has its original hardware, donor vehicle hardware gives you a backup set and confirms you have the correct thread size and pitch before installation.
Place hardware in labeled bags as you go. Mixing bolts from different locations inside the same bag creates confusion during installation. A few seconds of labeling at the yard saves significant time when you are under your own car trying to remember which bolt went where.
Carry Out Your Parts
Most pick and pull yards provide wheelbarrows or rolling carts at or near the entrance for exactly this purpose. Use them. Carrying heavy or awkward parts a significant distance through uneven yard terrain with your hands occupied creates fatigue and risk of damage to the part.
If you have a large haul, consider making multiple trips to the exit with parts rather than loading everything at once. A full wheelbarrow that tips over in a muddy row costs you parts and time.
Step 5: Checkout and Pricing
Pick and pull pricing is typically established by the yard and posted at the exit counter rather than negotiated. The process is more efficient than most people expect.
Present Items at the Counter
Take all harvested parts to the exit counter where a cashier will identify and price each item. Most yards use a posted price list organized by part category, such as doors, engines, alternators, and so on, rather than pricing by make and model. This standardized pricing is part of what makes pick and pull yards faster to transact with than full-service yards where every part is individually quoted.
Lay your parts out clearly on the counter. If you have hardware stored in bags, make sure those are visible as well. Some yards price hardware separately. Others include small hardware with the main part. The cashier will advise.
Consider the Optional Warranty
Decide before you pay whether you want to purchase the optional warranty, if offered. Most pick and pull yards offer a low-cost warranty upgrade on used parts, typically covering exchange or refund if the part is defective or fails within 30 to 90 days of purchase. The cost is usually a small percentage of the part price.
For low-cost cosmetic parts like trim pieces or hardware, the warranty is rarely worth it. For mechanical components like alternators, starters, window regulators, or small motors where failure is possible and the replacement effort is significant, the warranty cost is usually worth it. An alternator that fails two weeks after installation, requiring another yard visit and the same labor, costs you far more than the original warranty would have.
Ask the cashier what the warranty covers and excludes before purchasing. Some warranties cover exchange only, meaning you get the same part from the same vehicle back, which is less useful if the part was genuinely faulty. Others cover exchange for a working equivalent from any vehicle in their system, which is the more useful option.
Tips That Make the Difference
These are the things experienced pick and pull regulars do that first-timers consistently wish someone had told them.
Visit early in the day. Newly added vehicles are most picked-over by afternoon. Arriving when the yard opens, usually around 8 AM on weekdays, gives you first access to recently added inventory. If you know a specific vehicle you need was just added through the online database, early arrival is particularly important for high-demand parts.
Take photos as you remove parts. Photograph how each component looks before disassembly, including wiring harness routing and how brackets are oriented. These photos are your reference during installation. It takes five seconds and eliminates hours of uncertainty later.
Check multiple donor vehicles if more than one is available. A second matching vehicle may have the same part in better condition, with less rust, with original hardware still intact, or with easier access. Two minutes of comparison between vehicles can get you a significantly better part.
Bring a notebook or use your phone to record part numbers. Engine control modules, sensors, and some electronic components have part numbers printed on them. Recording these confirms you have a compatible part before you leave the yard.
Do not rush a stubborn fastener. The most common mistake in a pick and pull yard is snapping a bolt because someone applied force before penetrating oil had time to work. A snapped bolt in a donor vehicle means the part becomes inaccessible. Wait, apply more lubricant, and work it patiently.
Leave the car in reasonable condition. Other visitors may want different parts from the same vehicle. Removing trim pieces unnecessarily, leaving tools behind, or making a mess of the interior makes the yard worse for everyone who visits after you. The pick and pull community has an informal but real code of conduct around respecting shared resources.
Pick and Pull vs. Full-Service Salvage Yard: Which Is Right for You
| Factor | Pick and Pull | Full-Service Yard |
| Price | 50 to 75% cheaper | Higher, parts professionally removed |
| Tools required | Yes, you bring your own | No, yard pulls the part for you |
| Time investment | Significant (1 to 4 hours typical) | Low (often same-day or next-day) |
| Part selection | Whatever is on the car as-is | Often cleaned, tested, and warranted |
| Mechanical skill required | Moderate to high | None |
| Best for | Cost-conscious buyers comfortable with tools | Buyers who want a ready-to-install part fast |
Neither option is universally better. Pick and pull is the right choice when price is the priority and you have the tools and skills to pull the part yourself. Full-service is the right choice when time is the priority or when the part is complex to remove and the skill or tools required are beyond what you have available.
Frequently Asked Questions
Do I need to bring my own tools to a pick and pull yard?
Yes. Tools are not provided. This is the foundational concept of the pick and pull model: you supply the labor including tools, and the yard supplies the inventory. Arriving without tools means you cannot pull anything. At minimum bring a socket set, combination wrenches, screwdrivers, pliers, penetrating oil, and safety equipment.
How do I know if the part I need is available at the yard?
Most major pick and pull yards maintain a daily-updated online inventory database searchable by year, make, and model. Check it before visiting. The database usually shows how many matching donor vehicles are in the yard and sometimes their location by row. If no matching vehicle is listed, call the yard to confirm before driving out.
How much does it cost to get into a pick and pull yard?
Entry fees vary by yard, typically ranging from free to $3 per person. The fee is charged regardless of whether you purchase anything. Some yards charge by the day and others offer free entry on certain days. Check the specific yard’s policy before visiting.
Can I bring a jack to a pick and pull yard?
No. Hydraulic jacks and floor jacks are prohibited at most pick and pull yards due to the risk of vehicles falling on people. The yard maintains its vehicles on blocks or other fixed supports. If a part requires crawling under a vehicle, the vehicle should already be on stable fixed support. Never attempt to lift a yard vehicle.
Are pick and pull parts warranted?
Most yards offer an optional warranty upgrade at checkout for a small additional fee. Without the warranty, parts are sold as-is with no guarantee. With the warranty, most yards offer exchange within 30 to 90 days if the part is defective. The warranty is worth purchasing for mechanical components and electronics where failure is possible. It is less necessary for cosmetic parts.
What should I do if the bolt is rusted and will not budge?
Apply penetrating oil and wait. A minimum of five minutes, ideally ten to fifteen for heavily corroded fasteners. Work the bolt back and forth in small increments rather than applying steady increasing force. If it still will not move, apply more penetrating oil and wait again. Never apply heat in a pick and pull yard. Snapping a bolt makes the part inaccessible and wastes your time and trip.
Can I bring children to a pick and pull yard?
Most yards restrict entry to adults 18 and older. Some allow minors with a parent or guardian present. Check the specific yard’s age policy before bringing anyone under 18. Even where allowed, a junkyard is not an appropriate environment for young children due to ground hazards, unstable vehicles, and potential exposure to automotive fluids.
The Bottom Line
A pick and pull junkyard is one of the most accessible and cost-effective resources available to any car owner comfortable with basic mechanical work. The parts cost a fraction of retail, the inventory is constantly refreshed as new vehicles arrive, and the process of finding and extracting your own part gives you direct knowledge of exactly what you are installing.
Prepare before you go. Check the inventory online, write down every part and piece of hardware you need, and load your tool bag with everything on the list above. Arrive early, get the yard map, take your time with rusty fasteners, and photograph everything before you disassemble it.
The first visit feels unfamiliar. The second feels efficient. By the third, you will wonder why you ever paid full retail for anything that a pick and pull yard could provide.