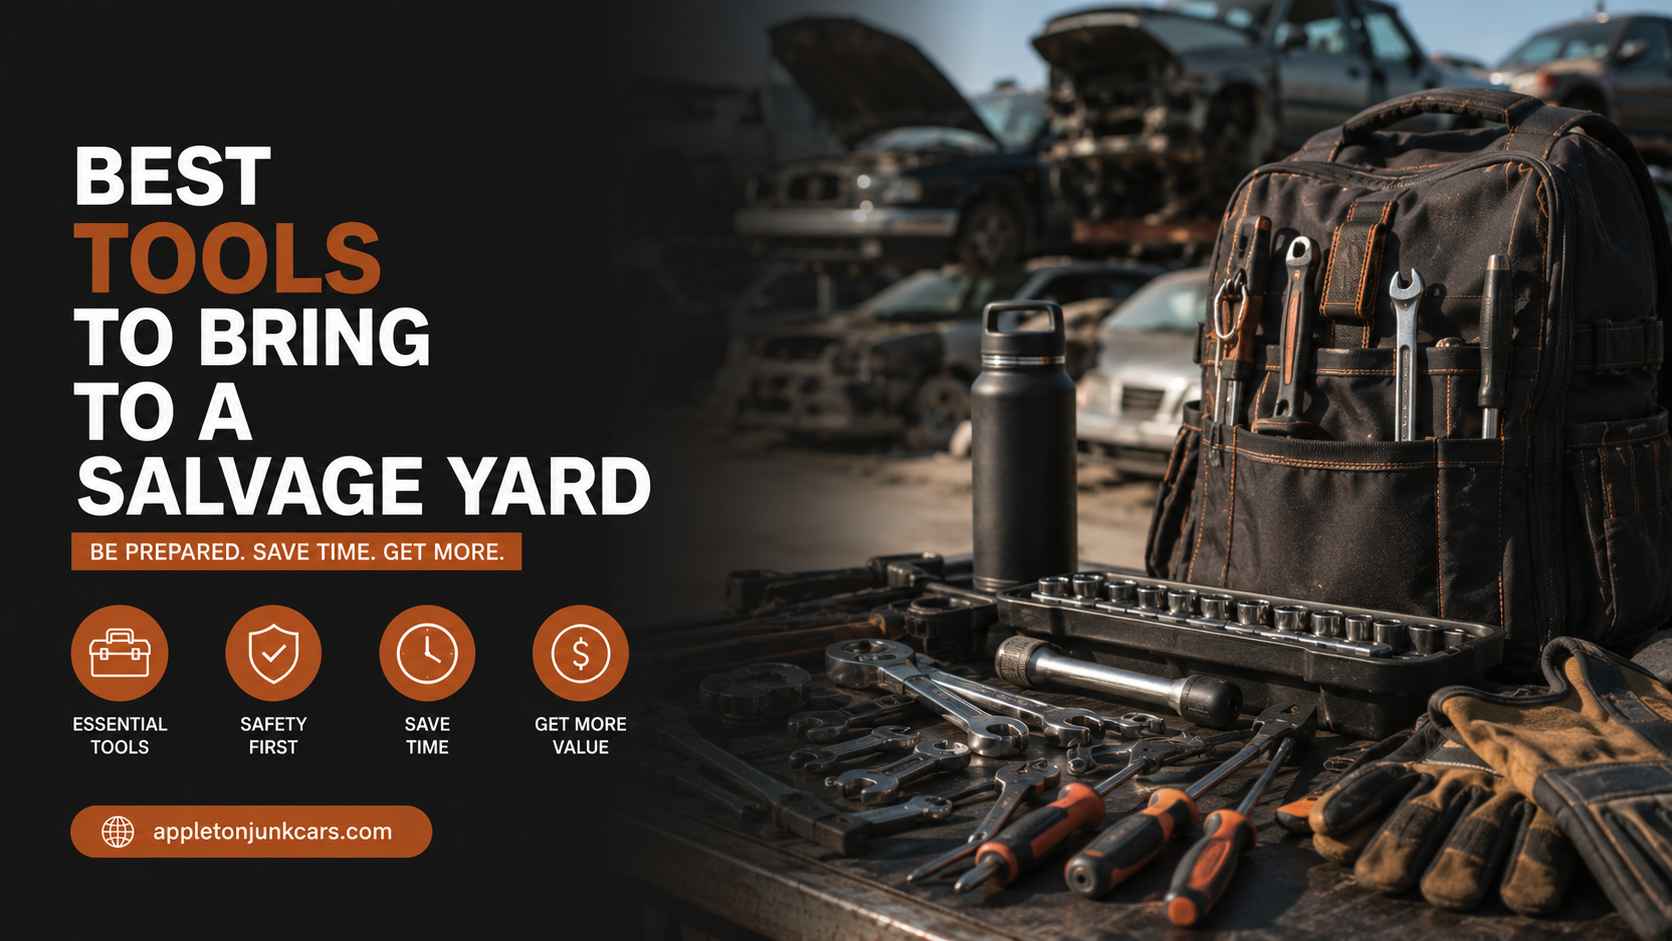
You can tell who has been to a salvage yard before by what they pull out of their bag when they reach the donor vehicle. The veterans unpack a precise kit, pull the part in twenty minutes, and are back at the counter before the newcomer has finished hunting for the right socket size. The gap between those two experiences is almost entirely preparation.
To get the best parts quickly and safely, you need a mix of hand tools, cutting implements, and transport gear. Salvage yards rarely have electricity, so cordless or manual tools are essential. This guide covers every tool category you should consider, organized by how often you will actually use it, with specific guidance on what to prioritize and what you can leave behind on shorter visits.
The Core Rule: Cordless or Manual Only | Best Tools to Bring to a Salvage Yard
Most pick and pull salvage yards do not have electrical outlets in the yard, and even if they did, running a cord through rows of cars is not practical. Every power tool you bring needs to be battery-operated, and every battery you bring should be fully charged before you leave home.
The cordless rule also applies to lighting. Engine bays and interior footwells are dark, and no yard will run a drop cord out to your donor vehicle. A battery headlamp or handheld flashlight is not optional; it is essential.
Build your kit around cordless tools with high-quality batteries, manual alternatives for when power runs out, and enough hand tools to handle anything the power tools cannot reach.
Essential Hand Tools
Hand tools are the foundation of any salvage yard kit. They do not need charging, they do not break down, and they handle the vast majority of fasteners you will encounter. This is where most of your investment should go.
Socket Sets
Bring both 3/8-inch and 1/4-inch drive ratchets. Carry metric and standard sockets since modern cars mix both systems across their fasteners. European vehicles are predominantly metric. Older American vehicles lean toward standard. Most cars built since 2000 use a mix of both, and assuming all metric or all standard will leave you stuck on at least one fastener per job.
The 3/8-inch drive handles most fasteners you will encounter. The 1/4-inch drive gives you access to tight spaces where a larger drive cannot fit. Extensions of various lengths, from 3-inch to 6-inch to 12-inch, expand your reach into deep engine bays and around obstructions. A universal swivel adapter is worth the small weight addition for fasteners at awkward angles.
Deep sockets are valuable for bolts with extended studs or for working in deeper wells. Include at least a set of 8mm to 19mm deep metric sockets alongside your standard shallow set.
Wrenches
Pack a combination wrench set from 8mm to 19mm. Standard sizes from 5/16 to 3/4 inch are useful for older domestic vehicles. Open-end wrenches access fasteners where you cannot get a socket in, and the box end provides extra grip on stubborn nuts.
Combination wrenches take up minimal space and the open end handles situations where you cannot get a ratchet in the correct orientation. Include at least one flex-head ratcheting combination wrench in your most-used size, typically 10mm or 12mm, for confined spaces where a fixed-head wrench cannot generate enough arc to turn the fastener.
Screwdrivers
Carry multiple sizes of flathead and Phillips heads. A multi-bit screwdriver with interchangeable tips saves significant toolbox space while covering most variations. Include Torx T10, T20, T25, and T30 bits if you are working on any vehicle built in the last fifteen years, since Torx fasteners appear frequently in modern vehicles from both domestic and import manufacturers.
Flathead screwdrivers serve double duty as pry tools for releasing plastic clips, unseating trim panels, and dislodging stubborn components. Carry at least one with a narrow blade and one with a wider blade. Plastic trim tools from a dollar store protect surfaces from scratching when cosmetic condition matters.
Pliers
Include needle-nose, regular, and locking pliers. Locking pliers, commonly known as Vise-Grips, are the pliers you reach for when a bolt head has stripped or when you need to grip something that regular pliers cannot hold without slipping. Needle-nose pliers are essential for electrical connectors, hose clamps in tight spaces, and working with small retaining clips.
Add a set of slip-joint pliers for pipe and hose work. If you are removing coolant hoses, fuel lines, or rubber connections, hose clamp pliers or hose removal tools prevent tearing the hose and save significant frustration over standard pliers.
Breaker Bar
Choose a long 1/2-inch drive bar. The length creates leverage to loosen rusted suspension or engine bolts that a ratchet cannot move. The 1/2-inch drive handles torque levels that would damage a 3/8-inch drive ratchet.
A breaker bar is the tool most first-timers forget and most wish they had on their first visit. Suspension bolts on vehicles that have been sitting for years are often torqued down significantly and then fused further by corrosion. No amount of effort on a standard ratchet will move them. A 24-inch or 36-inch breaker bar with a 1/2-inch drive socket gives you the mechanical advantage to break them free without damaging your tool or the fastener.
Heavy-Duty and Cutting Tools
For the faster, more demanding jobs, power tools and cutting implements reduce time and effort significantly. These are the tools that separate a professional-level kit from a basic one.
Cordless Impact Gun
An impact gun speeds up the removal of wheels and heavy brackets. Bring a fully charged spare battery. This single tool reduces wheel removal from a multi-minute ratchet job to a thirty-second task. For heavy brackets, transmission crossmembers, and high-torque fasteners throughout the drivetrain, the impact gun is the tool that determines how fast you work.
An 18-volt or 20-volt impact gun with a quality battery platform delivers enough torque for most salvage yard applications. Bring two batteries: one in the gun and one in your bag. A dead battery at the donor vehicle with no backup converts your power tool visit to an entirely manual one.
Keep the impact gun set to the appropriate torque direction before applying it to any fastener. Striking a fastener in the wrong direction with an impact gun can damage the head or the surrounding component.
Reciprocating Saw
A battery-powered reciprocating saw with metal-cutting blades cuts through exhaust pipes, seized bolts, and rusted connectors that nothing else will move. This is not a tool for every visit, but when you need it, nothing else comes close.
Pack metal-cutting blades with a high tooth count, typically 18 to 24 teeth per inch for thin metal and 10 to 14 TPI for thicker stock. Carry several blades because salvage yard metal is often dirty and corroded, which dulls blades faster than clean stock. A reciprocating saw allows you to cut through an exhaust flange that has rusted solid, slice a stubborn exhaust hanger bracket, or remove a section of wiring harness cleanly.
Check with the yard before using a reciprocating saw. Some yards restrict or prohibit power cutting tools. Confirm their policy when you pay your entry fee.
Hammers
Bring a heavy ball-peen hammer or a small sledgehammer. Hammers break loose rusted brake drums and rotors, drive cold chisels, persuade stuck components off of splined shafts, and dislodge parts that corrosion has welded in place. A 2-pound ball-peen handles most jobs. A 3-pound or 4-pound small sledgehammer provides more force for drum and rotor work.
A rubber mallet belongs in this category as well. For plastic and aluminum components, a rubber mallet delivers force without damaging the component the way a steel hammer would. Bumpers, plastic cowl panels, and aluminum intake manifolds all come off more cleanly with a rubber mallet than a metal one.
Cold Chisel
A cold chisel pairs with your hammer to shear off stripped screws and stubborn rivets. Set the chisel against the edge of a stripped fastener head, strike it at an angle, and it drives the fastener rotationally when a socket no longer can. Cold chisels also cut through thin sheet metal fasteners and score lines for controlled breaking of corroded joints.
Carry two sizes: a narrow chisel for small fasteners and a wider one for bigger applications. Keep them sharp. A dull cold chisel slides off the fastener surface rather than biting into it.
Lifting and Moving Gear
Getting parts off the vehicle is half the job. Getting them back to your car and then home without damage or injury is the other half. The right carrying and securing gear makes both easier.
Carrying Tote
Use a heavy-duty plastic toolbox or open tool bag. Avoid rolling tool boxes; yard terrain is usually muddy, uneven, or rocky, and a rolling box becomes a wrestling match on anything other than level pavement. An open-top tool tote or a five-gallon bucket with a tool organizer lid lets you see all your tools at once, carries parts out alongside your tools, and handles yard terrain easily.
Five-gallon buckets are a legitimate professional choice for salvage yard visits. They are inexpensive, nearly indestructible, carry a significant amount of parts and tools, and flip upside down to serve as a seat while you work on low-mounted components. More than a few experienced salvage yard regulars use nothing else.
Ratchet Straps
Ratchet straps secure heavy parts like transmissions, engines, and large assemblies inside your vehicle for the trip home. A transmission sliding around the back of an SUV on a highway is a hazard. Two straps keeping it in place are twenty seconds of prevention. Bring at least two straps rated for the heaviest part you expect to carry.
For smaller parts, plastic zip ties bundle wiring harnesses and keep loose hardware together. Bring a handful. They weigh almost nothing and are useful in a dozen ways during the trip from the donor car to your vehicle.
Work Gloves
Protect your hands from sharp sheet metal, broken glass, and chemical residue. Heavy leather or cut-resistant work gloves are the right choice for salvage yard work. Thin disposable gloves are not adequate protection against sheet metal edges, broken glass fragments embedded in door seals, or the sharp teeth of stripped bolt heads. Invest in a quality pair of leather-palm gloves and wear them every time your hands enter a salvage yard vehicle.
A pair of disposable nitrile gloves can supplement the leather gloves for any work involving fluids. If you are removing a power steering pump, an oil-soaked component, or anything near coolant, nitrile over leather or as a standalone keeps fluid off your skin.
Flashlight and Headlamp
A headlamp keeps both hands free while illuminating dark engine bays or interior footwells. This is one of the most impactful tools on the list for the cost. A quality LED headlamp costs almost nothing, takes up almost no space, and immediately makes every task easier by freeing both hands while you work in the shadows under a dash or deep in an engine compartment.
Bring a handheld flashlight as well. A headlamp points where your head points, which is sometimes not where you need the light. A handheld lets you direct the beam precisely into a specific area while you work with the other hand. Together, a headlamp and a handheld cover every lighting situation you will encounter.
Specialty Prep Items
These items are not glamorous but they consistently make the difference between a successful parts pull and a frustrating one.
Penetrating Oil
Spray penetrating oil on rusted fasteners immediately when you arrive at the donor vehicle. The moment you identify which bolts you will be removing, apply penetrating oil to all of them before you touch anything else. Then do whatever else you need to do: look up the part, check the surrounding components, plan your removal sequence. By the time you are ready to turn the first bolt, the oil has had five to fifteen minutes to work.
PB Blaster and Kroil are the most effective penetrating oils by most independent testing. WD-40 is better than nothing but is not as effective as dedicated penetrating formulas for heavily seized fasteners. Bring more than you think you need. A 12-ounce spray can is the minimum for any serious salvage yard visit.
Application technique matters. Spray the penetrating oil directly on the junction between the fastener and the receiving thread, not just on the top of the bolt. Capillary action draws the fluid into the threads when it is applied where the thread engagement is, not just on the exposed surface.
Cheater Pipe
A cheater pipe slides over your breaker bar to multiply leverage when an impact gun is unavailable or insufficient. A 24-inch section of 1-inch steel pipe slid over a 24-inch breaker bar effectively gives you a 48-inch handle, which doubles the torque you can apply to a stubborn fastener. This is the last resort before cutting, and it frequently works when everything else has failed.
Use cheater pipes carefully and only on tools rated for the torque they are generating. The tool at the center of that leverage, the breaker bar, must be quality steel or the cheater pipe creates enough force to snap the handle. A quality 1/2-inch drive breaker bar from a reputable manufacturer handles cheater pipe use safely. Cheap ratchets and low-quality bars do not.
Cardboard or Ground Mat
Cardboard provides a clean, dry surface to lie on when removing undercar parts. A folded piece of cardboard from a shipping box takes up almost no space in your car but makes working on the ground significantly more comfortable and cleaner. Yard ground is often muddy, wet, or covered in oil residue from vehicles that have been stripped above you. Lying directly on it soaks your clothing and creates a slipping hazard when you stand up.
A small foam kneeling pad serves the same purpose for components you work on from a kneeling position. Neither item costs more than a few dollars and both extend the time you can work comfortably.
The Complete Salvage Yard Packing Checklist
Use this list before every salvage yard visit. Check off what you have and identify what you need before you leave home.
Category | Item | Priority |
|---|---|---|
Hand Tools | 3/8 and 1/4 drive ratchets with metric and standard sockets | Essential |
Hand Tools | Combination wrenches 8mm to 19mm | Essential |
Hand Tools | Flathead, Phillips, Torx screwdrivers | Essential |
Hand Tools | Needle-nose, locking, and regular pliers | Essential |
Hand Tools | 1/2-inch drive breaker bar (24-inch minimum) | Essential |
Power Tools | Cordless impact gun with two batteries | High Priority |
Power Tools | Cordless reciprocating saw with metal blades | Situational |
Hammers | Ball-peen or small sledge hammer | High Priority |
Hammers | Rubber mallet | Medium Priority |
Cutting | Cold chisel | Medium Priority |
Moving Gear | Heavy-duty open tote or 5-gallon bucket | Essential |
Moving Gear | Ratchet straps (2 minimum) | High Priority |
Safety | Heavy leather work gloves | Essential |
Safety | Safety glasses | Essential |
Safety | Steel-toed or thick-soled closed-toe boots | Essential |
Lighting | LED headlamp (fresh battery) | Essential |
Lighting | Handheld flashlight | High Priority |
Prep | Penetrating oil (PB Blaster or Kroil) | Essential |
Prep | Cheater pipe (1-inch steel, 24 inches) | Situational |
Prep | Cardboard or foam kneeling pad | Medium Priority |
Admin | Phone for photos and parts reference | Essential |
Admin | Labeled zip bags for hardware | High Priority |
Admin | Marker for labeling | Medium Priority |
What Not to Bring
Several items that seem logical to bring to a vehicle disassembly job are prohibited at most pick and pull yards for safety and liability reasons. Confirm with the specific yard before packing anything from this list.
- Hydraulic or floor jacks: The most commonly prohibited item. Yards prohibit jacks because an unstable vehicle falling on a person is their primary liability risk. All yard vehicles should be on stable fixed support. If a vehicle is not adequately supported, report it to yard staff rather than attempting to lift it yourself.
- Torches and open-flame tools: Fire hazards in an environment with fuel residue and dry materials. Prohibited universally.
- Car batteries: Prohibited because of spark and short-circuit risks from charging or testing. Leave any battery work for outside the yard.
- Power grinders: Some yards allow reciprocating saws; most prohibit angle grinders. The sparks from grinding are a fire risk. Confirm before bringing any grinding tool.
- Rolling tool boxes: Not prohibited, but highly impractical. Yard terrain is rarely flat and paved. Rolling boxes get stuck in mud, tip on gravel, and make the visit harder rather than easier. Open totes or buckets outperform them in this environment.
Pro Tips for Tool Organization at the Yard
How you organize and use your tools at the yard matters as much as which tools you bring. These are the habits experienced salvage yard regulars have developed.
Apply penetrating oil as step one, always. The moment you reach the donor vehicle, spray penetrating oil on every fastener you plan to remove before you do anything else. While it soaks, do your visual assessment, plan your removal sequence, and get your tools organized. By the time you are ready to work, the oil has had time to penetrate.
Photograph before you disassemble. Take photos of the component in place, including wiring harness routing, bracket orientation, and how adjacent components are positioned. These are your installation reference. Thirty seconds of photography at the yard eliminates an hour of reinstallation confusion.
Label hardware as you go. Drop bolts and brackets into labeled zip bags as you remove them. A single bag labeled with the component name and orientation ensures you have the correct hardware for reinstallation without hunting through a pile of mixed fasteners.
Check that your power tools are charged before you leave home. Discovering a dead impact gun battery after driving to the yard and paying the entry fee is one of the most preventable frustrations in DIY automotive work. Make battery charging the last step before you pack.
Keep your tools visible in an open tote. Digging through a closed toolbox for the right socket size while standing in a yard row wastes time. An open tote or bucket where every tool is visible lets you grab what you need without searching.
Frequently Asked Questions
What tools do you absolutely need at a salvage yard?
The non-negotiable minimum is a metric and standard socket set with 3/8 and 1/4-inch drive ratchets, a set of combination wrenches, flathead and Phillips screwdrivers, pliers including locking, a breaker bar, penetrating oil, leather work gloves, safety glasses, and a headlamp. With these, you can handle the vast majority of parts removal jobs.
Should I bring a cordless impact gun to a pick and pull yard?
Yes, if you have one. An impact gun with a spare battery is one of the highest-value tools to add to a salvage yard kit. It reduces wheel and bracket removal from a tedious ratchet job to a quick power tool task. Check the specific yard’s policy on power tools, though most allow cordless impact guns without restriction.
What is a cheater pipe and why would I bring one?
A cheater pipe is a section of steel pipe that slides over a breaker bar to extend the handle length and multiply leverage. When a fastener will not break loose with a standard breaker bar, a cheater pipe effectively doubles the torque you can apply. It is the last resort before cutting a fastener. Any 24-inch section of 1-inch interior diameter steel pipe works. Often available at a hardware store for a few dollars.
Can I bring a floor jack to the salvage yard?
No. Hydraulic and floor jacks are prohibited at nearly all pick and pull yards because of the risk of unstable vehicles falling. Yard vehicles are on fixed supports. If a vehicle is not adequately supported, report it to yard staff. Do not attempt to lift or reposition a yard vehicle.
What should I carry parts in at the yard?
An open-top heavy-duty tote, a large tool bag, or a five-gallon bucket. Avoid rolling toolboxes on yard terrain. An open container lets you see all your tools at once and doubles as a parts carrier for the walk back to the exit.
Do I need safety glasses at a salvage yard?
Yes. Safety glasses are non-negotiable. Rust particles fall when you loosen overhead fasteners. Fluid drips when disconnecting hoses. Spring clips and retaining rings can fly when released under tension. Any of these can cause serious eye injury. Safety glasses cost a few dollars and prevent outcomes that are not recoverable.
The Bottom Line
The right tools at a salvage yard are the difference between a successful trip and a wasted one. The essential hand tools cover the majority of what you will encounter on any visit. The power tools handle the jobs that would otherwise take three times as long or be impossible manually. The safety gear protects you from hazards that are present on every yard visit whether you notice them or not.
Pack the list, charge your batteries, spray the penetrating oil before you touch anything, and photograph before you disassemble. With those four habits in place, a salvage yard visit is one of the most cost-effective and efficient ways to source parts available to any car owner willing to do the work.