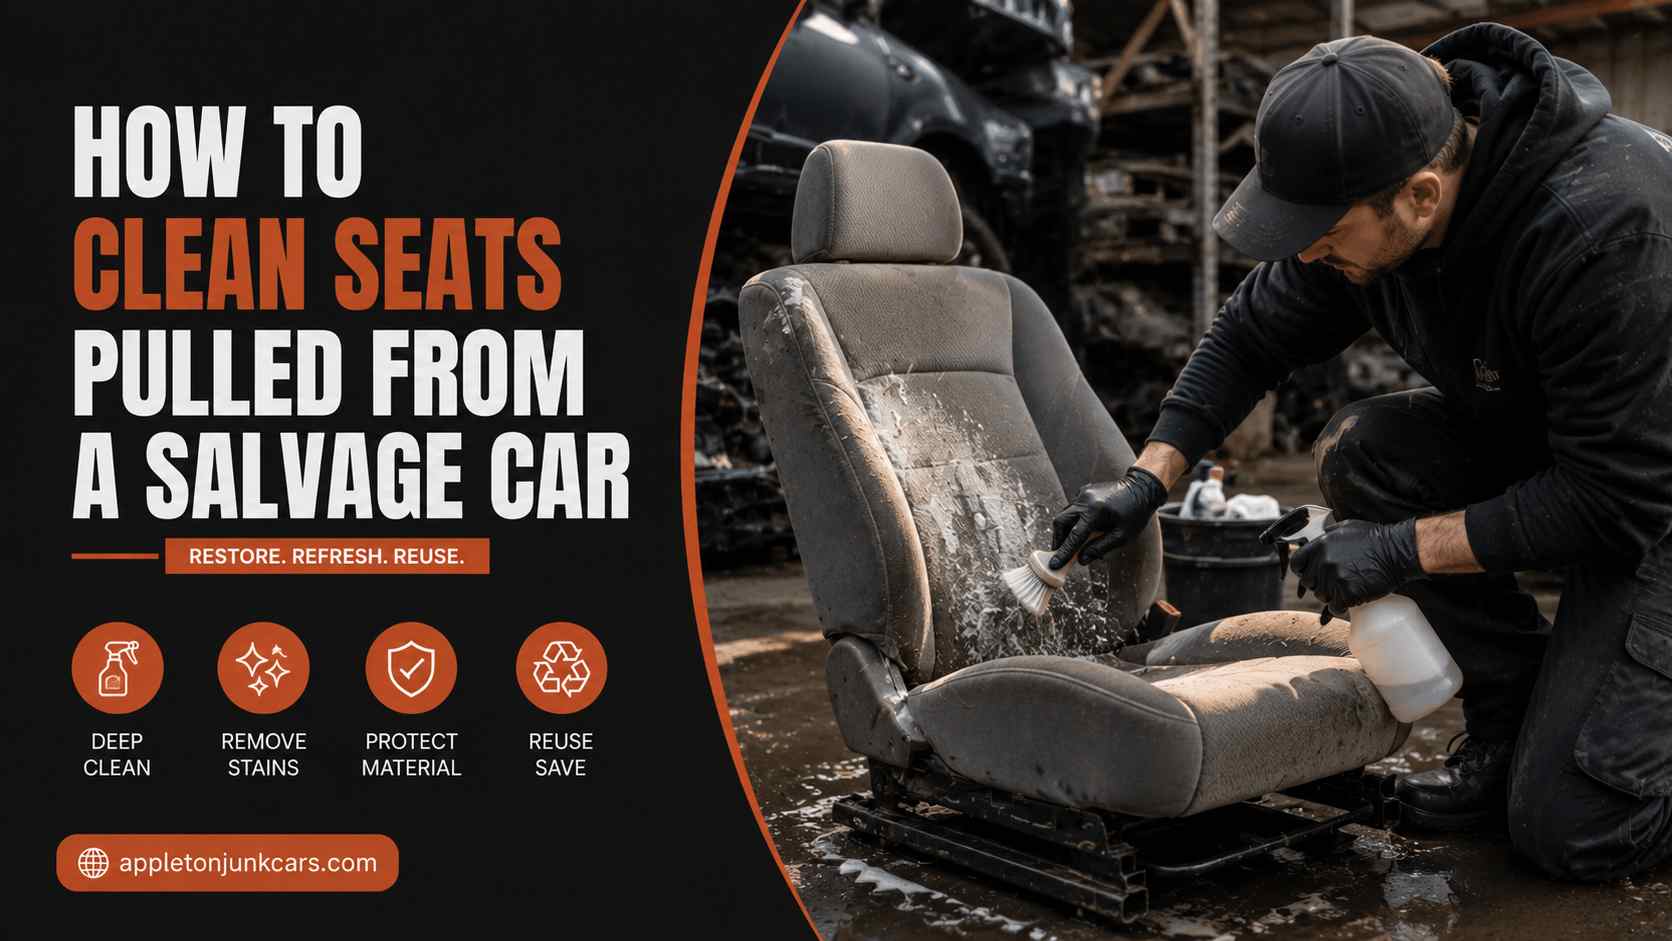
Salvage yard seats carry years of layered history. Mud from rainy commutes, grease from fast-food wrappers, biological stains from spilled drinks, and the particular smell of a car that has been sitting outdoors for months waiting to be parted out. If you have ever wondered how to clean junkyard seats properly, the answer involves more than a quick wipe-down with a cloth.
The good news is that removed seats are actually the ideal candidate for professional-level deep cleaning. This is the same advantage that dedicated auto detailing shops exploit when they extract seats for treatment. Once the seat is out of the vehicle, you can access every seam, every crevice, every inch of the underside, and use cleaning methods that would damage flooring, electronics, or trim panels if applied inside a car.
To clean salvage car seats effectively, you must exploit the fact that they are already removed from the vehicle. This allows you to access hidden angles and use deep-cleaning methods without risking damage to interior electronics or floorboards. This guide covers every step, from the initial dry preparation through the final drying period, for both fabric and leather seat types.
Products and Equipment You Need Before You Start
Having everything staged before you begin prevents stopping mid-process with a wet seat and nowhere to go. The products differ depending on whether you are cleaning fabric or leather, but the equipment list overlaps significantly.
Equipment / Product | Purpose |
|---|---|
High-powered shop vacuum | Initial debris extraction. Far more effective than a household vacuum on heavily soiled fabric. |
Compressed air (can or compressor) | Blows loose particles from seat tracks, slider rails, and seam gaps before moisture is introduced. |
Automotive APC (all-purpose cleaner) | Breaks down grease and grime on fabric seats when diluted 4:1 with water. |
Heavy-duty fabric degreaser | For heavily soiled cloth seats with embedded oil or grease contamination. |
Power drill with upholstery brush | Agitates deeply embedded grime that a hand brush cannot reach. |
Heated carpet extractor or wet/dry vac | Pulls dirty water out of foam padding after scrubbing. Essential for a true deep clean. |
Automotive leather cleaner | pH-neutral formula safe for aged and perforated leather. Do not substitute all-purpose cleaner. |
High-quality leather conditioner | Restores flexibility to dried salvage yard leather and prevents cracking. |
Enzyme-based odor eliminator | Permanently destroys biological odors from mold, mildew, and rodent contamination. |
Wire brush + WD-40 | Removes rust and old grease from seat tracks and slider rails. |
White lithium grease | Lubricates tracks and recline gears after cleaning for smooth operation. |
Microfiber towels (multiple) | Wiping, buffing, and drying at various stages. |
Plastic bags and electrical tape | Protecting wiring harnesses, sensors, and heating element connectors from moisture. |
Step-by-Step Process to Clean Seats from a Salvage Car
Step 1: Initial Dry Preparation Before Any Moisture Touches the Seat
Skipping dry preparation is the most common mistake people make when attempting to clean heavily soiled car seats. Introducing wet products onto a seat full of loose debris turns dry dirt into muddy paste that drives deeper into the fabric. Every minute spent dry is worth three minutes of wet cleaning afterward.
Vacuum Completely
Use a high-powered shop vacuum rather than a household unit. A shop vac generates the suction needed to pull glass shards, rust flakes, sand, and debris from seams and the deep padding channels that a regular vacuum cannot reach. Work the nozzle methodically across the seat surface, into every seam, and underneath the seat cushion where decades of dropped items and rodent activity tend to concentrate.
On cloth seats, press the vacuum nozzle firmly into the fabric and move slowly. On leather, use a soft brush attachment to avoid dragging the nozzle against the surface. Pay particular attention to the headrest area, the back seam where the seat back meets the cushion, and the perimeter edges.
Blow Out the Tracks and Mechanical Components
Use compressed air from a can or a compressor with a blow gun to clear the seat slider rails, adjustment gears, and under-seat brackets before any liquid touches the seat. Wet debris trapped in tracks turns into rust-accelerating mud. Dry debris blown out now prevents that problem entirely.
While the air is moving through the tracks, listen and feel for any binding or roughness in the slider mechanism. If the tracks feel seized or gritty even with debris cleared, note this so you can address it in the rail maintenance step later.
Protect All Electrical Components
Do not skip this step. Modern car seats contain sensors, heating elements, and airbag components that cannot be exposed to moisture without potentially damaging them permanently.
Inspect underneath the seat before starting any wet cleaning. Look for wiring harnesses, airbag inflator canisters, occupant weight sensors, lumbar motor wiring, and heated seat elements. Wrap every electrical connector tightly in plastic bags and seal the openings with electrical tape. The goal is a complete moisture barrier around every component that cannot be dried easily.
If the seat has a heating element and you are uncertain how far its wiring extends into the seat back or cushion, err heavily on the side of less moisture during cleaning rather than more. A heat-damaged seat element is expensive to replace and not worth the risk.
Step 2: How to Deep Clean Fabric and Cloth Car Seats from a Salvage Yard
Cloth seats from a salvage yard hold massive amounts of trapped mud, grease, and deeply embedded odors that surface cleaning cannot address. Answering the question of how to clean heavy soiled car seats starts here: the key is a combination of chemical breakdown, mechanical agitation, and proper extraction rather than surface scrubbing alone.
Break Down the Grease and Grime
Spray an automotive all-purpose cleaner diluted 4:1 with water, or a heavy-duty fabric degreaser, generously onto the entire fabric surface. Allow the cleaner to dwell for two to three minutes. This dwell time is where the chemistry does the actual work, breaking the bond between grease molecules and the fabric fibers before any physical agitation begins.
For seats with significant grease contamination, a dedicated automotive fabric degreaser at a slightly stronger dilution works better than a general APC. Food grease, motor oil transferred from clothing, and the specific blend of contamination that develops in a working vehicle respond better to degreaser chemistry than to general purpose cleaners.
Do not use household detergents on automotive fabric. The foaming agents in laundry detergent are designed for machine washing conditions and leave residue in automotive padding that attracts dirt and causes the seat to soil faster after cleaning.
Agitate Mechanically
Attach a medium-stiff upholstery brush to a cordless power drill. Dip the brush in warm water and begin scrubbing the seat systematically, starting at the top and working down. The drill-driven brush generates far more agitation than any hand scrubbing technique. It drives the cleaner into the fabric weave and works it through the first layers of padding where most of the odor and contamination is concentrated.
Work until a thick lather forms across the entire surface. This lather is the visual indicator that the cleaner has bonded with the grease and dirt and pulled it to the surface where the extraction step can remove it. If the lather turns brown or black quickly, the seat is heavily contaminated and the process may need to be repeated.
For car detailing work at a professional level, the drill brush is standard equipment for exactly this reason: no hand brush technique achieves the same agitation consistency across a heavily soiled seat.
Extract the Grime
Use a dedicated heated carpet extractor or a wet/dry shop vacuum to pull all dirty water and soap out of the foam padding. A heated extractor is the professional standard for this step because the heat improves cleaning chemistry efficiency and the dual action of spraying and extracting simultaneously prevents overwetting the foam.
If using a wet/dry vac without an extractor function, make multiple slow passes over the cleaned area pulling as much liquid as possible from the foam. Repeat the entire spray, scrub, and extract cycle until the extracted water runs clear or near-clear. On a heavily soiled salvage seat, this may take three to four complete cycles.
The goal of this step is not just surface cleanliness but to remove clean fabric. The foam inside the seat cushion is a reservoir for contamination, and a surface-only clean leaves the majority of the odor and grime sitting one inch below what the eye can see.
Alternative Flush Method for Seats Without Electrical Components
If the seats you are cleaning contain absolutely zero electrical components, no heating elements, no occupant sensors, no powered lumbar, you have access to the most effective cleaning method available: controlled pressure washing.
Spray the seat with degreaser, scrub with the drill brush until full lather develops, then use a light-pressure wash to flush the entire seat from top to bottom. The water volume that pressure washing moves through the foam forces contamination out in a way that extraction alone cannot match. Follow with extended drying time, minimum 48 to 72 hours in a well-ventilated space, before any contact with interior surfaces.
Verify the complete absence of electrical components before using this method. If there is any doubt, use the extraction method instead.
Step 3: Cleaning Leather and Vinyl Seats from a Junkyard
Salvage yard leather presents a specific challenge. It is usually dehydrated from sitting in a vehicle without regular conditioning, dried further by outdoor storage, and often cracked or beginning to crack at high-stress points like seat bolsters and headrest edges. The goal of cleaning is not just to remove stains and contamination but to do so without further stressing the leather.
Apply a Dedicated Leather Cleaner
Spray a specialized automotive leather cleaner or a mild pH-neutral leather soap onto a soft-bristled boar’s hair brush rather than directly onto the seat. Applying liquid directly to perforated leather saturates the foam through the holes and creates the same overwetting problem that extraction-based cleaning is designed to prevent.
Work in sections of roughly one square foot at a time. This prevents the cleaner from drying back into the leather pores before you can wipe it away, which would deposit the dissolved contamination back into the same place you were trying to clean it from.
Avoid any cleaner with bleach, ammonia, or alcohol concentrations above a few percent. Leather is essentially a treated animal hide. These chemicals break down the protective treatment and accelerate the cracking that salvage yard leather is already prone to.
Gentle Agitation in Small Sections
Scrub in tight, circular motions with light to moderate pressure. You are not trying to drive cleaner deep into the leather the way fabric cleaning agitation drives cleaner into padding. You are working the cleaner across the surface of the leather grain to lift the oxidized residue, dirt, and accumulated skin oils that create the gray, dull appearance of neglected leather.
When a section produces a visible gray or brown foam from the brush, the cleaner has lifted contamination. Wipe this section immediately before moving to the next one.
Immediate Wipe and Remove Stains at the Surface
Wipe the lifted residue away using a clean, dry microfiber towel immediately after each section. Do not allow the cleaned suspension to dry back onto the surface. Fold the microfiber to a clean face for each wipe so you are depositing the contamination into the cloth rather than redistributing it across the leather.
Stubborn stains on leather, particularly ink, grease, and old food, may require a targeted spot treatment with a slightly stronger concentration of leather cleaner or a dedicated leather stain remover applied to a cotton pad rather than the brush. Work gently and test on an inconspicuous area first.
Condition Immediately After Cleaning
Apply a generous coat of high-quality leather conditioner immediately after the cleaning step. This is not optional for salvage yard leather. Cleaning removes the natural oils that protect the leather matrix, and aged leather that is cleaned without immediate conditioning can develop surface cracks within hours.
Allow the conditioner to penetrate for 20 minutes. The conditioner is replacing the oils that have depleted over the years the leather was in service and then sitting in the salvage yard without care. During this time, the conditioner soaks into the grain and begins restoring flexibility at a level that prevents future cracking under the flexing stress of people sitting in the seat.
After 20 minutes, buff off the excess conditioner with a clean microfiber cloth. The leather should have a slight sheen and feel supple rather than stiff. This is what properly conditioned leather feels like. Car detailing professionals sometimes repeat the conditioning step twice on very dry salvage leather to achieve full saturation.
Step 4: Decontamination, Odor Elimination, and Track Maintenance
Even a visually clean seat can harbor biological contamination that standard cleaners do not address. Mold, mildew, rodent urine, and bacterial colonies live in the foam padding and survive standard cleaning unless specifically targeted.
Enzyme Treatment for Biological Odors
Spray an enzyme-based odor eliminator across the entire underside and fabric portions of the seat. Unlike masking sprays that cover odors temporarily, enzyme cleaners contain active biological agents that consume the organic molecules responsible for the smell. Mold, mildew, and animal contamination are all organic. Enzyme treatment is the only method that permanently eliminates these odors rather than covering them.
Apply liberally and allow extended dwell time, at least 30 minutes, for enzyme products to work. They need time for the biological action to complete. For severely affected seats with a strong mold smell, a second application after an hour produces better results.
This step is particularly important if you are installing salvage seats into a vehicle used to transport children. A seat that smells clean to an adult may still carry allergens or bacterial contamination detectable by a baby car or infant car seat’s closer contact with the upholstery. If the salvage seats will be in a family vehicle where a baby car seat or infant car seat will be used nearby, treating the salvage seats thoroughly protects the immediate environment around those child restraints.
Clean and Lubricate the Seat Tracks
Seat slider rails accumulate layers of rust, old grease, and gritty debris that cause binding and make the seat difficult or impossible to adjust after installation. Cleaning the tracks now, while the seat is on the bench, is far easier than attempting track maintenance inside a vehicle.
Use a wire brush and penetrating oil like WD-40 to clear rust, corrosion, and old gummy grease. Scrub along the full length of each rail, particularly in the gear teeth area where old lubricant has hardened. Wipe the dissolved material away with a rag and inspect the track surface. Light surface rust that clears to clean metal is acceptable. Deep pitting that removes material from the track is a mechanical concern but does not affect the cleaning process.
Apply white lithium grease to both track rails and the recline gears after cleaning. Lithium grease stays in place longer than standard lubricants and tolerates the temperature variations and load cycles that seat tracks experience. The seat should slide smoothly and the recline mechanism should operate without effort before the seat goes into the vehicle.
Step 5: Thorough Drying Before Installation
This is the step most people rush, and rushing it converts a clean seat into a mold seat. Upholstery foam holds water far longer than the surface fabric suggests. A seat that feels surface-dry to the touch can have several ounces of trapped moisture in the padding that will breed mold inside your vehicle cabin within days of installation.
Active Airflow
Position a high-velocity fan or air mover directly facing the seat. A box fan works. A dedicated carpet and upholstery air mover works better because it directs concentrated airflow into the fabric surface rather than just moving air around the seat. Direct the airflow at the seating surface first, then reposition to target the underside and seat back.
Sun Drying
If weather and location permit, direct sunlight accelerates moisture evaporation significantly and provides UV disinfection that further addresses any residual biological contamination the enzyme treatment may have missed. Position the seat on a clean surface in direct sun with good air movement. Rotate the seat every hour or two so the underside and back receive equal sun exposure.
Avoid leaving leather seats in intense direct sun for extended periods without conditioning. UV light accelerates leather degradation. If you have cleaned a leather seat and it has been conditioned, one to two hours of sun exposure for drying is acceptable. Longer than that risks UV-related drying of the conditioner you just applied.
The 48-Hour Rule
Do not install the seats until the deep internal foam is entirely dry. The minimum wait time after a thorough wet cleaning is 48 hours with active airflow. For seats that received the pressure wash flush method or that were very heavily soiled and required multiple extraction cycles, 72 hours is safer.
Installing a seat with residual moisture in the foam traps that moisture against the vehicle’s floor insulation and creates the conditions for rapid mold growth in the cabin. The smell of a molded car interior is extremely difficult to remove and requires exactly the kind of intensive car detailing work you just finished applying to the seat itself. It is not worth cutting the drying time short.
Before installation, press a dry cloth firmly against the seat surface and hold it there for thirty seconds. If any moisture transfers to the cloth, the seat needs more drying time. If the cloth comes away completely dry, the surface is ready. A final smell test for musty or damp odor provides additional confirmation.
Final Preparation: Seat Covers, Inspection, and Reinstallation
With the seat clean, deodorized, and completely dry, a few final steps prepare it for installation.
Consider a seat cover if the fabric is significantly faded or has irreversible staining that cleaning improved but did not eliminate. A universal-fit or model-specific seat cover protects the clean seat from new contamination and can address residual cosmetic issues that deep cleaning alone cannot resolve. If the seat cover will be used over a seat that will have a baby car seat or infant car seat attached to it, confirm the seat cover is compatible with LATCH anchor access and does not interfere with proper child seat installation.
Inspect all electrical connectors that were wrapped in plastic during cleaning. Remove the protective covers carefully and inspect each connector for any moisture intrusion. Allow any questionable connectors to air dry for an additional hour before connecting them to the vehicle’s wiring harness.
Final test of the track and recline before sliding the seat into the vehicle confirms the lubrication worked and the mechanism operates smoothly. A seat that binds during installation can damage the track mounting points in the vehicle floor.
Frequently Asked Questions
How to clean junkyard seats?
The process involves five stages: dry vacuuming and compressed air preparation, electrical component protection, wet cleaning specific to the seat material (fabric or leather), enzyme treatment for biological odors and track maintenance, and a minimum 48-hour drying period with active airflow. Skipping any stage, particularly the dry preparation and the drying period, produces incomplete results or creates new problems like mold inside the foam padding.
How to clean car seats without removing them?
Standard in-car cleaning uses the same chemistry but with important limitations. You cannot use pressure washing or deep extraction methods without risking damage to floor electronics and carpet. For in-car fabric seat cleaning, spray a diluted APC or fabric cleaner, agitate with a brush or drill-brush attachment, and extract with a wet/dry vac kept low on suction to avoid overwetting. For leather, the same process applies as described above but use less product and avoid any pooling near seat adjustment controls or track mechanisms. Drying in-car requires the windows open and fans circulating air through the cabin for 24 to 48 hours.
How to clean heavy soiled car seats?
Heavily soiled seats require the full process described in this guide: dry prep first, chemical dwell time before any agitation, power drill brush agitation rather than hand scrubbing, and multiple cycles of spray, scrub, and extract until the extracted water runs clear. A single cleaning pass is rarely sufficient on heavily soiled fabric. Budget for three to four cycles on badly contaminated seats and allow full 48 to 72-hour drying time. An enzyme treatment is essential on any heavily soiled seat because the contamination level that causes heavy soiling almost always includes biological components that standard cleaners do not address.
Can I use a car wash soap on fabric seats?
Not ideally. Car wash soap is formulated for painted exterior surfaces and may leave residue in fabric that attracts dirt quickly after drying. Use an automotive APC diluted 4:1, a dedicated fabric upholstery cleaner, or a fabric degreaser for cloth seats. These products are formulated for textile substrates and do not leave the same residue as exterior car wash products.
Is auto detailing equipment necessary or can I use household items?
A shop vacuum is the one piece of auto detailing equipment that makes a significant enough difference to be considered necessary. Household vacuums lack the suction to pull debris from automotive seam depths and cannot handle the wet extraction step. A power drill with a brush attachment is the second most impactful upgrade. Beyond those two items, household cleaning products and microfiber cloths can substitute for most professional auto detailing supplies on a one-time cleaning job.
How long should I wait before putting a salvage seat in my car?
A minimum of 48 hours after thorough wet cleaning with active fan drying. For heavily saturated seats or seats cleaned with the pressure flush method, 72 hours is safer. The test is pressing a dry cloth firmly against the seat surface. No moisture transfer plus no damp smell equals installation ready.
The Bottom Line
A salvage yard seat that looks unsalvageable from the outside is often a remarkable transformation project. The combination of dry preparation, dedicated chemical products, mechanical agitation, thorough extraction, enzyme treatment, and proper drying produces results that rival new upholstery in many cases.
The critical discipline is patience at both ends: thorough dry prep before introducing any moisture, and complete drying before installation. The hour saved by skipping either step tends to cost five hours in remediation later.
Done properly, a deep-cleaned salvage seat is fresh fabric, functioning tracks, odor-free foam, and conditioned leather that will serve reliably in your vehicle for years. The fact that it came from a salvage yard will be completely invisible once the work is done.