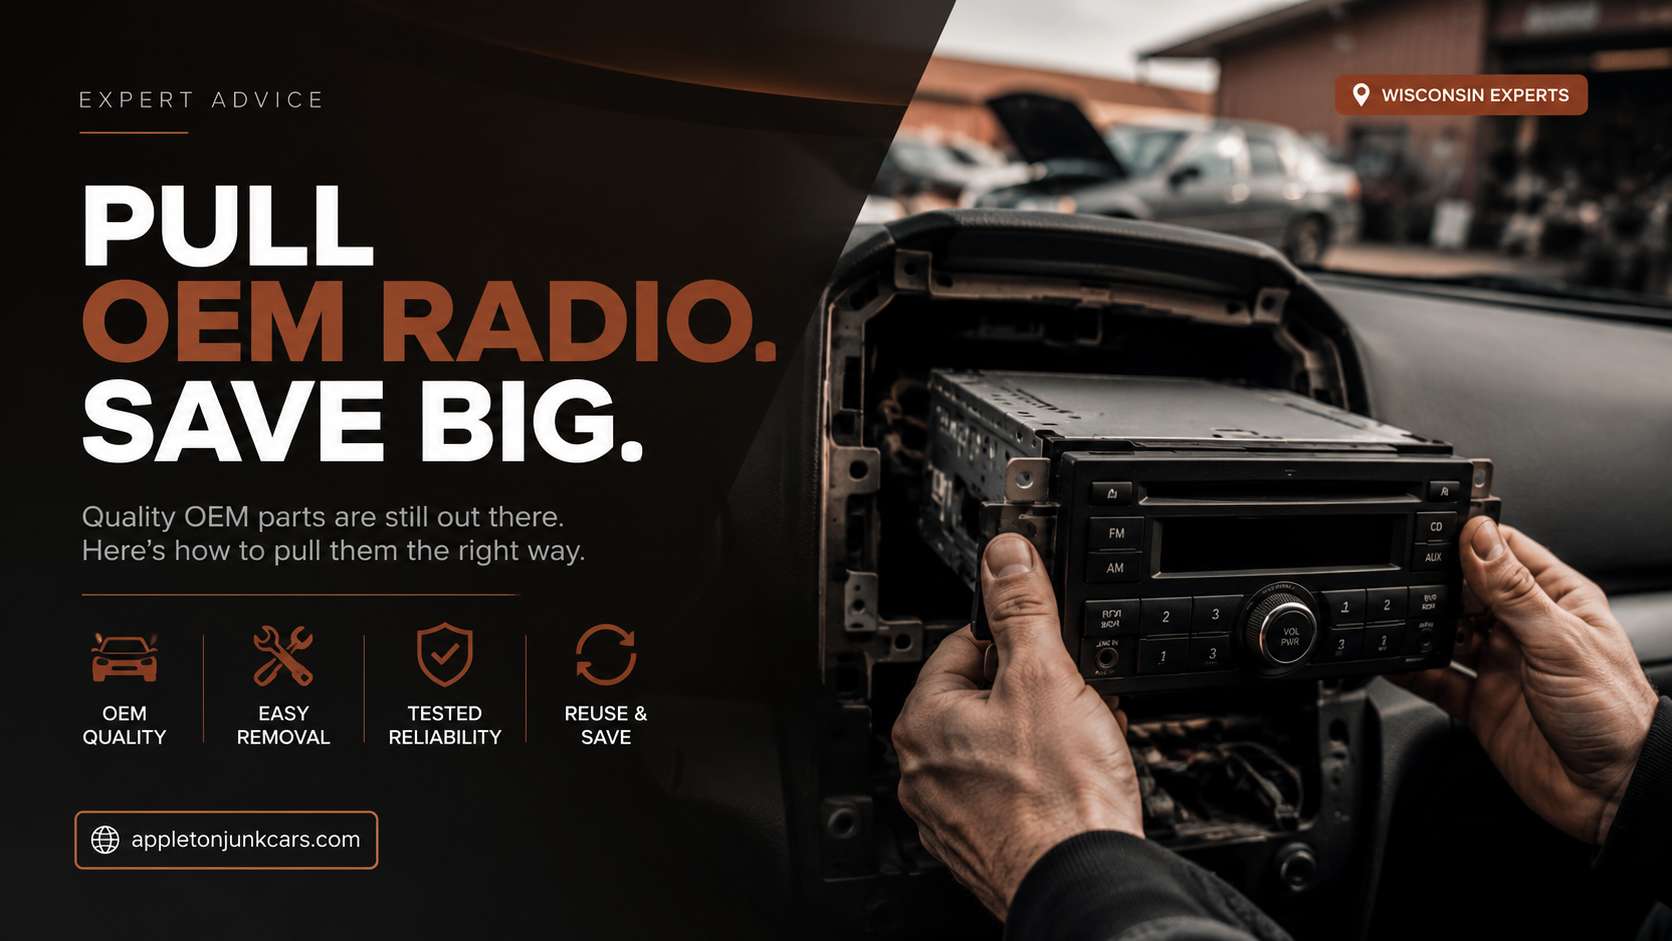
Factory radios have become increasingly expensive to replace through dealerships as head units evolved into integrated infotainment systems with navigation, backup cameras, and smartphone connectivity built in. A dealer might quote $600 to $1,200 for a replacement OEM unit. A salvage yard that has the same vehicle usually has the same radio for $40 to $120, and it takes about twenty minutes to pull if you know what you are doing.
The job is approachable for anyone comfortable with basic interior trim work. The tools are affordable, the steps are predictable, and the two things that catch people off guard are almost entirely avoidable with the right preparation: broken trim clips and anti-theft lockout codes. This guide covers both, along with everything else you need to go from arriving at the donor vehicle to walking out with a working radio in hand.
Tools and Safety Preparation Before You Touch the Dashboard
Having the right tools before you start is what separates a clean pull from a frustrating one. Dashboard components are designed with tight tolerances and plastic retaining clips that break if pried with the wrong tool. An incorrectly placed pry point destroys trim that cannot be undone.
Required Tools
| Tool | What It Does in This Job |
| Plastic trim pry tools | Release dashboard clips without scratching or cracking the panel surface. Metal screwdrivers used as pry tools destroy trim edges permanently. |
| Phillips head screwdriver | Removes traditional Phillips screws securing the radio bracket and surrounding panels. |
| T15 and T20 Torx drivers | Many modern vehicles use Torx fasteners for dashboard hardware. Missing these means leaving fasteners behind. |
| 7mm, 8mm, and 10mm sockets | Bracket bolts are almost always in this range. A ratchet with extensions reaches recessed fasteners. |
| Trim clip remover | A forked plastic tool that slides under clips to release them without snapping the clip or the panel. |
| Radio removal keys (Ford/Euro) | Thin metal keys that insert into slots on the radio faceplate to release the unit without any dashboard disassembly. Required on Ford DIN radios and many European models. |
| Flashlight or headlamp | Salvage yard vehicle interiors are dim. A headlamp frees both hands while illuminating the work area. |
| Phone with camera | Photograph the wiring connections and trim panel configuration before disassembly. Your installation reference. |
Safety Steps Before Starting
Disconnect the negative battery terminal before removing any head unit. Failing to do this risks shorting the audio amplifier, the vehicle’s electrical system, or blowing fuses on the donor vehicle’s wiring.
Disconnect the negative battery terminal first. The negative cable is the black one and typically connects to the body or chassis of the vehicle rather than directly to the engine. Loosen the terminal clamp bolt, remove the cable from the post, and tuck it away from the terminal so it cannot accidentally make contact while you work.
Ensure the key is out of the ignition. Even on a salvage vehicle with no battery, leaving the key in the ignition of some vehicles keeps the steering column in a state that locks the dashboard differently. Key out means the full dashboard is accessible and nothing is in an unexpected mode.
These two steps take thirty seconds combined. They also protect the salvage yard’s wiring from damage that the yard might hold you responsible for, and they protect any tools or rings you are wearing from a short circuit that can cause burns.
How to Pull an OEM Radio from a Scrap Car
Step 1: Removing the Trim Panels Surrounding the Radio
The radio bezel, which is the decorative panel surrounding the head unit, is almost always held in by a combination of hidden screws and plastic retaining clips. The goal is to release both without breaking the clips or deforming the panel. Broken clips on a part you plan to resell reduce its value. Broken clips on your own car create rattles.
Locating the Release Points
Before inserting any tool, spend two minutes studying the panel. Look for any visible screws around the perimeter of the bezel. Check inside the ashtray, coin pocket, or any removable storage compartment adjacent to the radio. These are common hiding spots for screws that hold the surrounding trim in place. Many first-time pullers miss these and then apply force to a panel that is still fastened and crack it.
If you cannot locate any visible screws, the panel is likely entirely clip-retained. The clips are plastic tabs molded into the back of the panel that snap into receiver slots in the dashboard structure. They release when you apply an inward force toward the panel while lifting away from the dash.
Releasing the Clips Without Damage
Insert a plastic trim pry tool into the gap between the bezel edge and the surrounding dashboard, starting at a corner where the gap is widest. Apply gentle outward pressure while moving the tool along the seam. You are feeling for each clip to release with a soft click rather than a crack. A crack means the clip broke. A click means it released cleanly.
Work your way around the entire perimeter before pulling the panel away from the dash. Panels that are only partially released will bind when pulled and stress the remaining clips unevenly, snapping them. Complete the circuit of all clips before applying any outward pull.
Disconnecting Climate Controls and Hazard Buttons
Many vehicles integrate climate controls, hazard switches, or mode buttons into the same bezel panel as the radio. Once the panel is free from the dash structure, these components may be wired into the back of the panel and prevent you from moving it away.
Hold the panel with one hand and look behind it. If wiring is attached, photograph the connection before disconnecting. Press the release tabs on each plastic connector block and pull the wiring straight out. Do not pull on the wires themselves. Pull on the plastic connector body. Label each connector with a piece of tape and a marker if there are more than two or three, since they will look similar and you do not want to reconnect them incorrectly if you are reusing the components.
Step 2: Unbolting the Radio from the Sub-Dash Bracket
With the trim bezel removed, the radio chassis is exposed within the dashboard structure. It is held by a metal bracket that bolts or screws to the surrounding framework. This is where your socket set comes in.
Expose and count the fasteners. Most factory radios use four to six mounting points. Some are visible immediately once the bezel is off. Others may be recessed into the dashboard structure and require an extension on your ratchet to reach. Shine your flashlight behind and around the radio chassis before concluding you have found all of them.
Remove fasteners completely and store them. If you intend to reinstall a radio where this one came from, or if the buyer of the donor vehicle wants the bracket reassembled, keeping the hardware together matters. A small zip bag in your tool kit holds all screws from a single job. Label it if you are pulling multiple components on the same visit.
Common fastener types by manufacturer: Japanese manufacturers (Toyota, Honda, Nissan) often use Phillips screws in the 5mm to 7mm head range. German manufacturers frequently use Torx T20 or T25. Ford North American vehicles use a mix of Phillips and 7mm hex bolts. GM varies by model but 7mm and 8mm hex heads are most common. Know what you are likely to find before you dig in.
Steps 3 and 4: Extracting the Unit and Disconnecting the Rear Wiring
With all fasteners removed, the radio slides out of the dashboard opening toward the cabin. This is the moment when most damage happens if rushed.
Sliding the Unit Out
Pull the radio straight out toward the cabin in a smooth, even motion. Do not angle it up, down, or to the side until you have confirmed the rear wiring has enough slack to accommodate the movement. The wiring harnesses on the back of factory head units have limited length, and pulling at an angle before the connectors are released can tear a wire from its terminal.
If the unit stops partway out and will not slide further, stop and check for a fastener you missed rather than applying more force. The radio chassis is often a snug fit in the mounting opening, and a single missed screw at the back of the bracket will prevent full extraction.
Supporting the Unit
Once the radio is partially out, it may be heavier than expected, particularly on larger factory infotainment systems with integrated navigation screens. Support the unit with one hand or rest it on a soft cloth on the dashboard surface while you work the rear connections with the other hand. Letting the unit hang by its wiring harnesses strains the terminal connections and can pull pins out of their housings.
Disconnecting the Antenna Cable
Pull the thick, round coaxial antenna cable straight out from its port. This is the black or gray round cable that connects to a push-in bayonet socket on the back of the radio. Grip the cable at the connector end and pull straight back. It should release with minimal force. If it seems stuck, check whether the connector has a threaded collar that needs to be unscrewed before pulling.
Releasing the Main Wiring Harnesses
Press the locking tab on each plastic wire block before pulling. Most factory wiring connectors have a rectangular plastic tab on one side or a button in the center that must be depressed before the connector will release from the socket. Pulling without releasing the tab bends or breaks the tab and can damage the connector housing.
The connectors should slide out smoothly once the tab is released. If they feel stuck, confirm the tab is fully depressed and check that the connector is aligned straight with the socket rather than at an angle. A slight upward or downward angle prevents release even when the tab is fully engaged.
Disconnecting Steering Wheel Control Modules
Many modern factory radios interface with the vehicle’s steering wheel audio controls through a separate CAN bus module or control interface. This typically appears as a small secondary connector near the main harness, sometimes labeled SWC, SWRC, or with an icon. Disconnect it the same way as the main harnesses. If you are purchasing this radio for installation in your own vehicle, you may need to retain or replace this module depending on whether your vehicle uses the same steering wheel control protocol.
Critical Junctures: What Catches People Off Guard
These are the situations that cause people to apply too much force, break trim, or walk out with a radio that will not power on. Know them in advance.
Hidden Screws Behind Removable Compartments
The most common cause of trim damage is pulling a panel that has a hidden screw still in place. Before applying any prying force, check every removable storage element around the radio. Ashtray inserts often pull out to reveal a screw behind them. Coin pockets may have a screw under the rubber insert. A small panel below the radio may be its own separate trim piece held by a single screw that must be removed before the surrounding bezel comes free.
When a panel feels like it should release but does not, the first instinct should be to look for a hidden fastener, not to increase force. Increasing force on a screwed-in panel will crack it. The screw is always there, and it takes about thirty seconds to find once you know to look.
Anti-Theft Lock Codes on Modern OEM Radios
Most modern factory radios enter a security lockout when disconnected from power. This is an anti-theft feature that requires an unlock code to be entered before the radio will operate again after the power connection is broken. The code is tied to the vehicle’s VIN and is retrievable from the manufacturer’s dealer network using that VIN.
Before leaving the donor vehicle, note the VIN from the door jamb or dashboard. When you are ready to install the radio, contact the manufacturer’s customer service or a dealer with the VIN and the radio’s serial number (printed on a sticker on the radio chassis), and they can provide the unlock code. This service is often free and takes about five minutes.
Some yards will have this information available if they have processed the vehicle and noted the VIN in their system. Ask at the counter. The radio without an unlock code is not necessarily dead, but it is inoperable until the code is entered. If the donor vehicle’s VIN is not available, online services that look up radio codes by serial number can sometimes retrieve it.
Ford DIN Radios and European Key-Slot Units
A specific category of factory radios, including Ford’s single-DIN original equipment units and many European vehicles from the 1990s through the mid-2000s, do not require any dashboard disassembly to remove. Instead, they have two small horizontal slots on either side of the faceplate into which thin metal removal keys are inserted. The keys release an internal spring catch and the radio slides straight out of the dash opening without any trim work.
These removal keys are vehicle-specific and inexpensive, typically $5 to $15 from automotive parts suppliers. They look like two thin metal prongs on a handle. If you arrive at a donor vehicle and see small horizontal slots on either side of the radio face, this is the removal method. Do not begin removing dashboard trim on these units. The keys handle the whole job in under two minutes.
How to Verify the Radio Works Before Leaving the Yard
Paying for a head unit and discovering it does not power on after installation is a time-consuming problem. Several checks at the yard reduce this risk significantly.
Check the faceplate for physical damage. Inspect the display screen for cracks. Press all the buttons to confirm they depress properly and spring back. Check that the disc slot (if present) is not bent or obstructed. External physical condition is usually a reliable indicator of how the unit was treated.
Look at the connector pins. Turn the unit over and examine the pin connectors on the back. Bent, broken, or corroded pins indicate the unit may have been incorrectly connected at some point. Count the pins and compare to the connector count in the donor vehicle’s harness.
Check for water damage indicators. Look inside any visible vents or openings for corrosion, rust staining, or the white residue of mineral deposits left by water intrusion. Factory radios in vehicles that have been flooded are often superficially clean but internally corroded.
Photograph the part number label. A sticker on the radio chassis lists the OEM part number, manufacturer serial number, and often the specific vehicle it was designed for. Photograph this before leaving. This is the number you use to verify compatibility with your vehicle and to request an unlock code if needed.
Ask about the yard’s return policy. Many salvage yards offer 30 to 90 day exchange policies on electronics. Confirming this before paying means you have recourse if the unit fails to power on or has an internal fault. An exchange policy on a $60 radio effectively covers the risk of electrical failure that no physical inspection can fully rule out.
What to Do After Pulling the Unit: Compatibility and Unlock Code
The radio is out. Now confirm it will actually work in your vehicle before you leave the yard.
Confirm the connector match. Bring the wiring harness from your own vehicle, or a photograph of it, and compare it to the connector configuration on the radio you just pulled. The pin count, housing shape, and lock tab position should match. Many factory radios use industry-standard connectors but some manufacturers use proprietary configurations that do not cross-fit.
Note the VIN of the donor vehicle. Write it down or photograph the door jamb VIN plate before the vehicle is out of sight. This is the key to retrieving the anti-theft unlock code if the unit locks on first power-up.
Check compatibility with your vehicle’s canbus or MOST bus systems. Premium audio systems in luxury vehicles often communicate through a high-speed data bus (MOST, MOST150, or A2B) that requires the head unit, amplifier, and module to be from the same vehicle. Swapping individual components from a different vehicle of the same model may work or may cause faults depending on software version compatibility. Research your specific model before purchasing.
Frequently Asked Questions
Do I need to disconnect the battery before removing a car radio?
Yes, always. Disconnecting the negative battery terminal before removing any head unit prevents shorts, protects the vehicle’s electrical system, and prevents blowing fuses. It is a thirty-second step that prevents significant problems.
What are radio removal keys and which vehicles need them?
Radio removal keys are thin metal prongs that insert into small slots on the radio faceplate to release an internal spring catch, allowing the unit to slide straight out without any dashboard disassembly. Ford single-DIN factory radios from approximately 1995 to 2010 commonly use this system, as do many European vehicles from the same era including some Volkswagen, Audi, and Peugeot models. Look for two small horizontal slots on either side of the radio face.
What happens if my OEM radio locks after I install it?
Contact the vehicle manufacturer’s customer service line or a dealer with the donor vehicle’s VIN and the radio’s serial number. They can provide the unlock code, often at no charge. Note the VIN of the donor vehicle at the yard before you leave. Some third-party online services also provide unlock codes by serial number.
How do I avoid breaking trim clips when pulling the radio bezel?
Use plastic trim tools, not metal screwdrivers. Work completely around the perimeter before pulling outward. Listen for a click with each clip release rather than applying steady increasing force. Check for hidden screws in ashtray compartments and coin pockets before applying any prying force. If the panel resists, look for a missed fastener rather than increasing pressure.
Can I use any OEM radio from the same model year in my car?
Not always. Factory radios are often specific to the trim level, market, and software version. A base model radio may not include the navigation maps or backup camera processor needed for a higher trim application. A radio from a North American model may not have the correct frequency range for another region. Match the part number from the donor vehicle to your vehicle’s specifications, not just the model year.
What should I do if the radio does not slide out after removing all visible fasteners?
Stop and look for a fastener you missed. The most common hiding spots are behind the ashtray insert, under the coin pocket rubber insert, and on a small sub-trim panel below the radio opening. Increasing force on a panel with a hidden screw will crack it. The screw is always there.
The Bottom Line
A factory radio from a scrap car is one of the most straightforward and cost-effective parts pulls at any salvage yard. The tools are basic, the steps are sequential, and the two complications that most commonly cause problems, hidden screws and anti-theft codes, are entirely manageable with the preparation steps in this guide.
Bring your plastic trim tools, disconnect the battery first, photograph everything before you disassemble it, note the donor vehicle VIN before you leave, and ask the yard about their electronics return policy before you hand over money. With those steps in place, the pull takes about twenty minutes and you walk out with a working factory head unit for a fraction of what a dealer would charge.